On white images explained
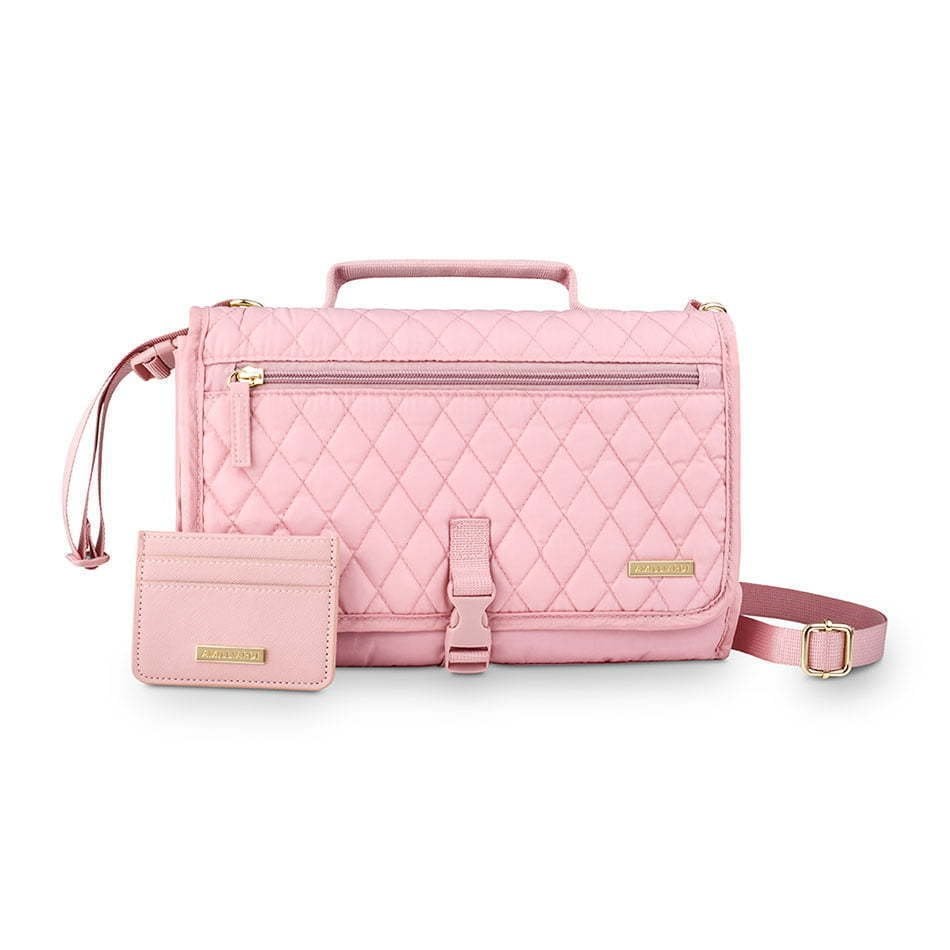
Hey! So you need to take a picture of a white product on a white background? No worries, I got you!
Product photography is pretty standard these days. There’s space for some creativity, especially on your own website, but big marketplaces like Amazon and eBay require photos with white backgrounds – and for good reason.
White backgrounds let the true colors of the product show and don’t take away from the product being sold (unlike a patterned or colored background). While white backgrounds aren’t usually a challenge, even for DIY product photographers, white on white photography can be tricky even for experienced photographers.
But what do you do when you’ve got a white or translucent product to sell? How do you take a picture of it on a white background without losing detail in the photo or exposing it wrong?
White on white photography may seem like a huge challenge, but it’s actually just a matter of learning the technique, shaping the light and solving problems. And the best part? It can be fun!
Remember the basics before you start! Set your white balance correctly based on your light source or shooting environment. If you don’t, your white product might look blue or orange.
And if you don’t set your ISO to 100 or 200 and use a tripod, your images could come out grainy. Make sure your camera settings match your product.
For instance, using f/16 will give you great detail with most of the product in focus, but if you want a softer effect, try using a wider aperture.
Whether you have your eCommerce site or want to post items on eBay, Product Pictures is always the best option to use.
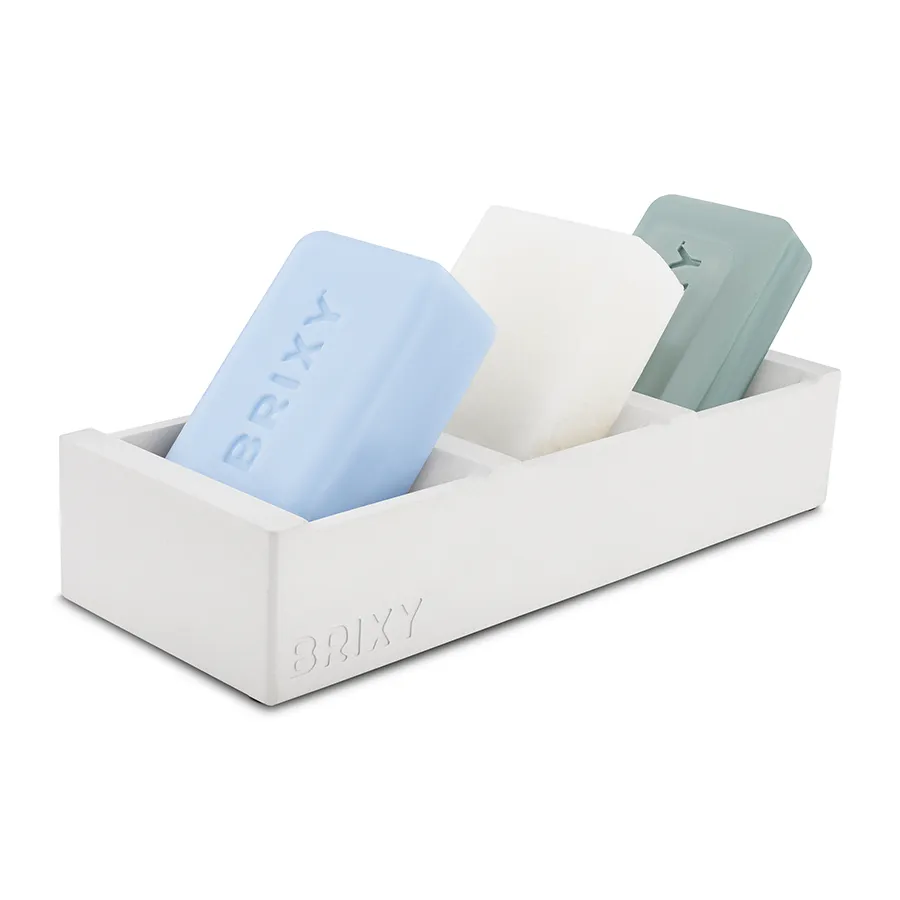
Make sure to adjust your white balance to match your light source or shooting environment.
The first challenge in shooting a white product on a white background is creating a distinction between the two. If you light the product like you would any other colored product, you risk losing important details.
Here’s what to do: find a flat table or other elevated surface for the product, and place a white reflective surface beneath and behind it. You can use white seamless paper, white foam core board, or white plexiglass, depending on whether you want to see the reflection or not. We suggest using white foam core board, since it’s cheap and easy to work with.
You’ll need at least two boards – one for the product and one behind it, lining up the edges. But for better results, use four or five boards so the product is surrounded except for the “window” through which the camera takes the shot and the light shines. The size doesn’t matter much, just make sure you have enough white space around the product for cropping.
With that done, you can then shape the light around the product to clearly separate it from the white surface and background.
White-on-White Photography Lighting
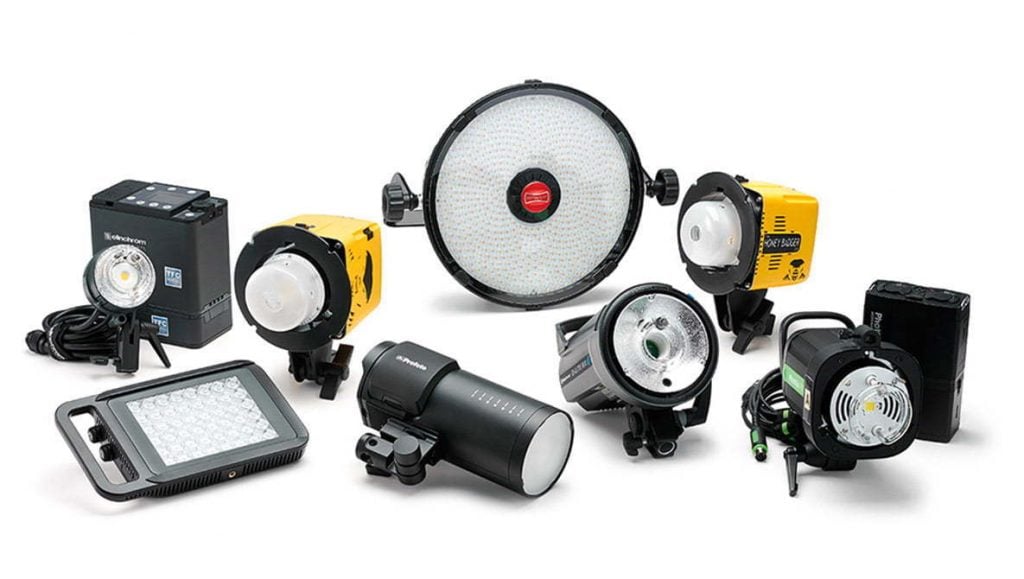
The quality of your white on white product photos is highly dependent on your ability to control the lighting. By properly shaping the light, you can create contrast between the white product and the white background, highlighting its unique texture and shape.
In order to achieve this, use indirect light sources such as continuous or strobe lights and place them behind and above the camera to create shadows and definition.
Move the product closer to the camera and away from the background until it almost falls into shadow, then take a test shot and use it as a reference point for adjusting the lighting.
The objective is to make the background appear as white as possible while avoiding overexposure that would result in the loss of detail on the edges of the product.
To enhance the quality of white-on-white product images, you can try several methods, one of which is incorporating more lighting. However, if you’re not comfortable with getting into the technicalities of light source placement, power, and distance, a simple solution would be to add white fill cards or foam board.
These materials are effective in controlling light, as you can easily adjust their position to achieve the desired illumination and depth.
Experiment by placing the card or foam board to the side of the product and taking a test shot. This extra reflected light will give the image added depth and make the product look brighter compared to before.
Additionally, you can experiment with the angle of the white fill card or foam board. Tilting the card in different directions will result in different amounts and directions of reflected light, which will affect the shadows on the product.
For example, tilting the card upwards will result in more light being reflected upwards, creating brighter highlights on the product, while tilting it downwards will create more intense shadows and a modifier look.

Shape light to differentiate the white product from the background by using indirect lighting techniques to create shadows, thus adding definition to the image.
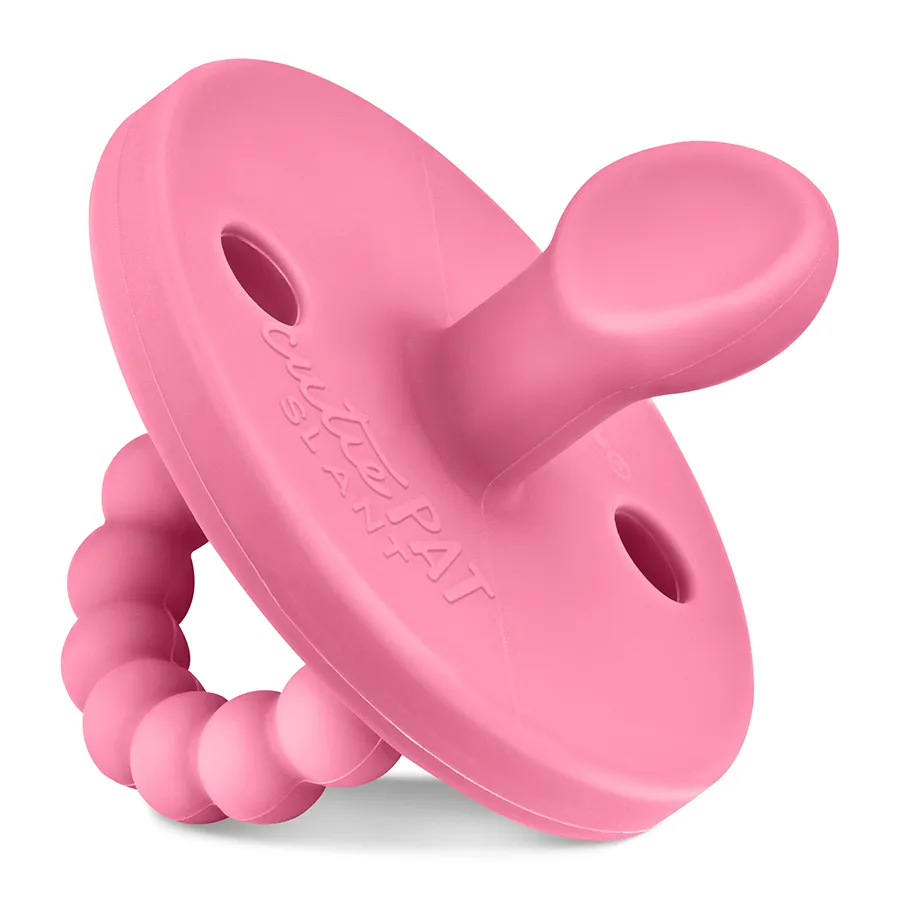
A good product picture will make your listing more effective and will also increase your sales. Product photography pictures will with no doubt help your eCommerce site thrive.
Unfortunately, not everyone seems to realize this, and a great many small and even medium-sized business owners are failing to appreciate the huge marketing potential in advertising photography.
Part of the problem seems to be the fact that photography itself has never been as easy, or as technologically advanced as before.
Below are tips to help you acquire quality product pictures.
1.Use a tripod and a timer
When taking a photo even the slightest vibration can cause blur in the photo. You should also bear in mind that the closer you move to an object the more you’ll cause blur on the photo of the object.
A tripod stand ensures stability when taking pictures hence, a sharp picture free from blurs. In addition, you can use the camera inbuilt timer to ensure minimal vibration while maximizing sharpness.
Most of Canon’s EOS and Powershot cameras have a two-second delay feature. Here is how it is done; press and release the shutter button.
After two seconds of releasing the shutter button, your camera will involuntarily capture your product pictures.
There will be no blur. By doing this, you have successfully avoided camera shake from human touch.
2.Gets lots of light in your product photography
This is the most important tip of all. Having enough light ensures the product pictures are clear and take after the original items. Natural light is the best and works best.
It is advisable prudent to shoot photos during the day.
3.Editing.
Taking photos is always the beginning, next comes editing. While preparing to put product pictures on your site you should know the size of photos required.
Resize the product pictures you’ve taken so that they can fit on your site. Editing also involves removing any bad sections that may have appeared in the picture.
For best results, ensure you use the best photo editing app.4.Build a backdrop for larger sized products
There is a way to build a backdrop stand made out of PVC pipe and inexpensive fabric. Another way to do this is to have your fabric tacked to a wall.
Otherwise, you can drape your fabric from a stand. It is important that you remove all the wrinkles. Have your object positioned slightly in front of the backdrop.
You know from personal experience that your perception regarding the quality and reliability of a company is determined by what you see.
If you see images that are plainly poor quality, you perceive that the company may not be legitimate, that they might not stand behind their product, or that they may not be in business very long.
However, if you see a well-designed web site or catalog with good product pictures that help you determine if the product you see is what you want, then your perception of that company is that they are one that cares about their customers, they are a legitimate business of good standing, and that they will be around long into the future should you need them again.


