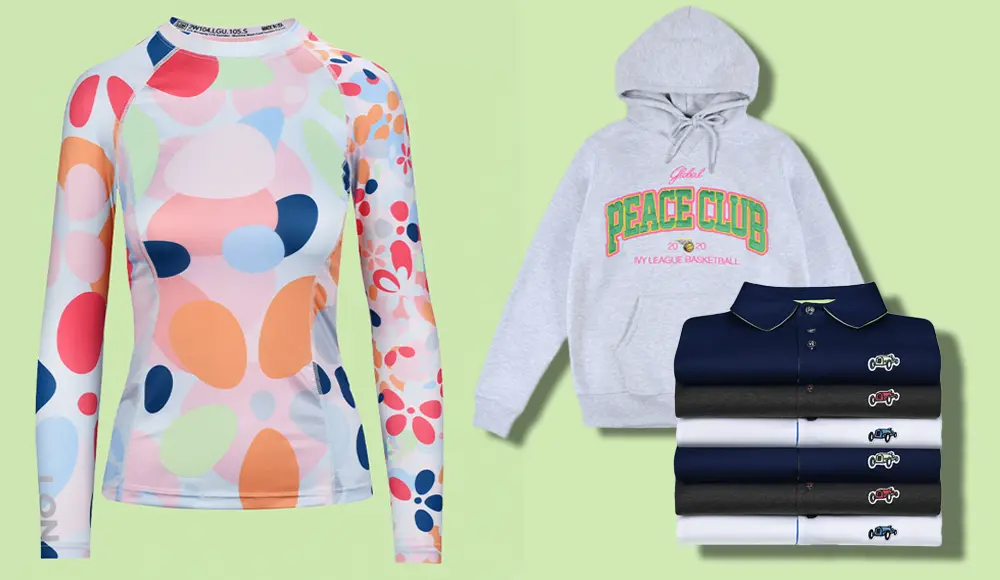
Clothing photography - everything you need to know!
Table of Contents
Understanding The Process
Hey there, fashion shooters! Ready to turn your clothing line into online eye candy? Remember, in the digital jungle, it’s all about grabbing attention.
Understanding how to photograph clothing for your online store can mean the difference between being successful and failing. We live in a world where there is a constant fight for people’s attention.
If you’re exploring different lighting techniques, learn more about lightbox photography versus professional lighting setups
The internet is vast. and having your online store stand out from the crowd is challenging. and if you don’t have great photographs of your products. you might as well give up now.
Hiring a professional to photograph your products is one option. but many people don’t have the money in their budget to hire a professional photographer. Fortunately. you can learn how to take professional quality pictures yourself as long as you are willing to put in the time and effort.
The following guide can show you how to photograph clothing for your online store that will make your products as appealing to your customers as possible.
Just because you can’t afford to hire a professional photographer doesn’t mean that your online store has to suffer. If you have a talent for product photography and are willing to learn and practice. you’re halfway there.
If you’re willing to invest in professional product photography equipment. that should get you the rest of the way there. You can learn how to photograph clothing like a professional. and once you do the sales in your online store should start to climb.
Prepare Your Garment To Be Photographed
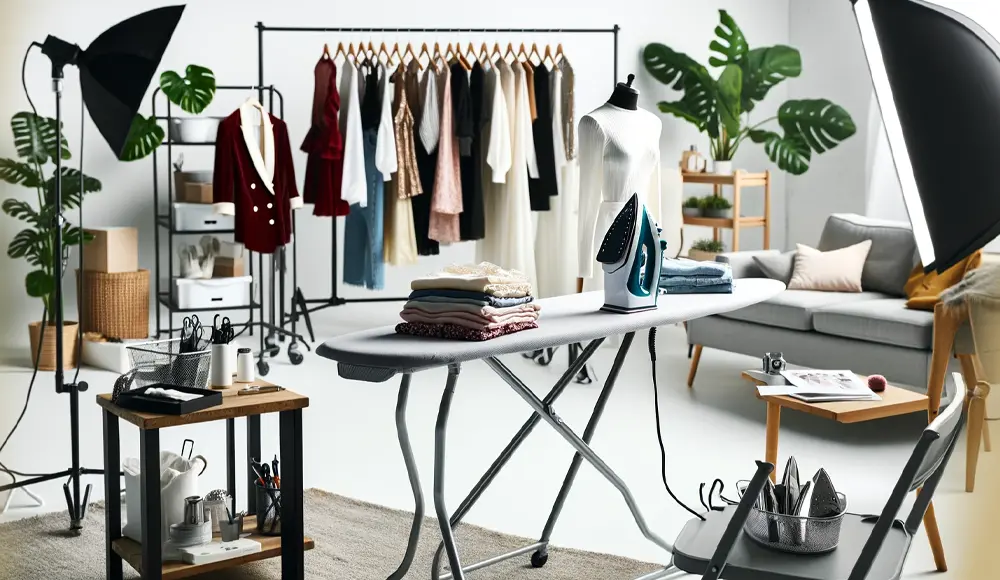
Prepare for the shoot
Okay, fashionistas, rule number one: make those outfits pop! Think of your garment as a superstar getting ready for the red carpet. Steam out those wrinkles, ditch the lint, and let’s make ’em shine. Remember, no one likes a wrinkly shirt in their shopping cart
When customers visit your online store and look at pictures of clothing. your clothing should look better than it’s ever looked before. People should look at the clothing in your store and see flawless images that allow them to imagine how great they would look wearing those clothes.
They should look at the images and think about buying them. and also think about how amazing that shirt or pants. or whatever else you are selling would make a fantastic gift. In other words. the photos on your website have to be flawless and depict the clothes that you sell in the best possible light.
The first step in taking amazing photos of clothing is to prepare the clothing for the photo. It doesn’t matter how great your technique is. if the clothes you are photographing are wrinkled. faded. or damaged. people won’t want to buy them.
Clothing doesn’t always arrive in the best condition. so before you photograph anything make sure that you look at the garments you are planning to take pictures of and make sure that they aren’t damaged.
Next. you should probably steam or iron the clothes before photographing them. If you show customers clothing with wrinkles, you’ll give them the wrong impression. so spending a little time washing and ironing the clothing before photographing it is well spent.
Related article: backdrops and surfaces for your product photography.
Photoshop for imperfections

Photoshop, our digital fairy godmother, right? Well, sort of. It’s great for zapping those tiny blemishes, but let’s keep it real. Nobody likes a plastic-looking shirt. So, prep your clothes like a pro and use Photoshop just for that final sparkle!
Now. you may be thinking that you can always use Photoshop to correct any imperfections. and there’s no denying that Photoshop can work some pretty impressive virtual magic.
But photo editing at a professional level often takes the efforts of a professional. Do you really want to have to pay someone to edit your photos when a little prep work ahead of time can eliminate the need to do so?
Even if you decide to hire a professional. and heavily edited photos can come across as looking artificial. which will make people less likely to buy something. Instead of risking this. prepare your clothing ahead of time. then save Photoshop for touch-ups and color correction.
Related article: Free alternative software for Photoshop
When preparing your garment for photographing be thorough. It’s a lot better to spend a little extra time now than it is to have flaws that you discover later that require extensive photo editing. Look carefully for lint. sticker. tears. thread. or any other foreign material on the garment before you start to take pictures.
It can be tedious. but this is your business that we’re talking about. and you want to do everything in your power to help your business. don’t you?
Discover the best free alternatives to Photoshop for photo editing.
Make Sure That You Have A Proper Space
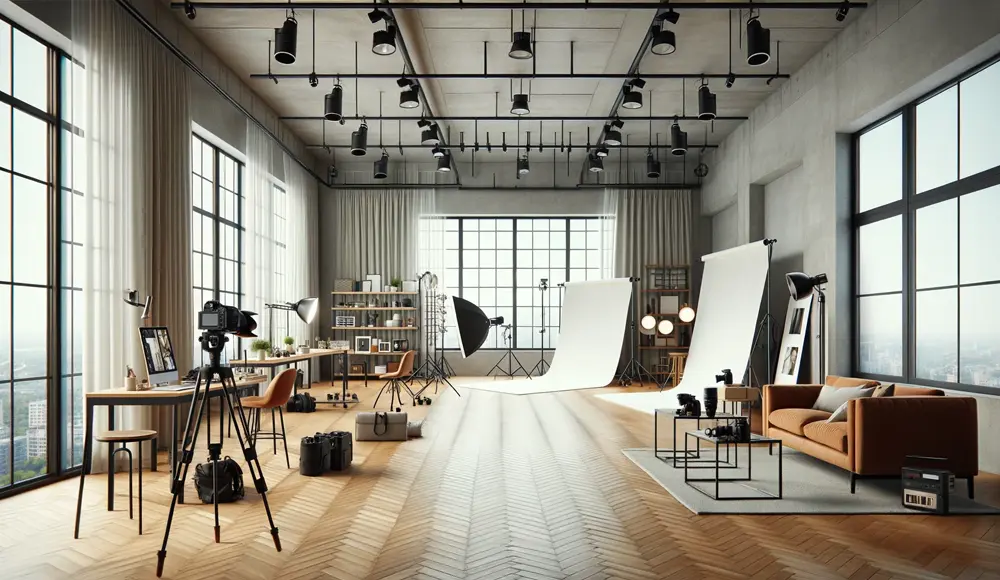
Transforming your room into a photo studio? Easy peasy! You don’t need a fancy space – just some creativity. Grab a camera, a window with some sweet natural light, and you’re halfway to creating magic. Who needs a studio when your living room can be just as chic
What do you need in order to take professional quality photos?
You need quite a few things. but right at the top of the list is a proper studio and equipment. Obviously. you aren’t going to go out and rent a photography studio. If you had the budget to do that. you’d probably just hire a photographer.
The good news is that you can transform just about any room into a photography studio. and you can do it with minimal investment. While you can invest in more studio gear if you have the money. the bare minimum that you’ll need is a camera. tripod. duct tape, a window for natural light. and seamless white paper.
Your Backdrop
When setting up your backdrop, you want to have a natural color like white or light grey. Using a neutral color will allow you to capture images of your clothing that have the most accurate color possible.
This lets you show your customers what they’ll be getting. which is important for building trust with them. Assuming that you’ll be creating your studio on a budget. you can create an effective, professional looking backdrop using rolls of seamless white paper. which can be found at any photography store.
Seamless White Paper
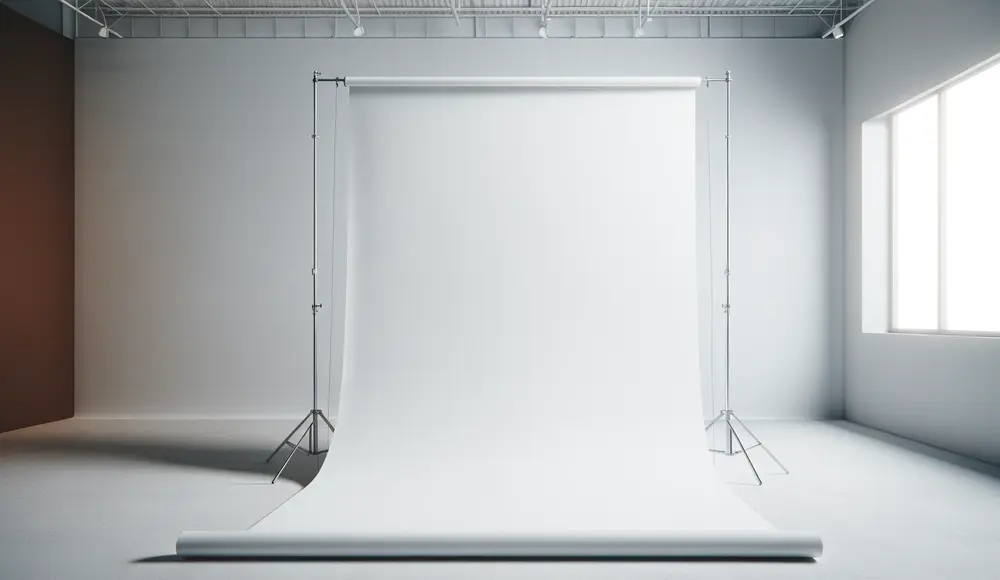
Photography backdrops are like the stage for your fashion show. Go for something simple and classy, like white or light grey. It’s all about letting those colors on your clothing sing!
If you’re going to use seamless white paper as a backdrop it’s worth investing in a c-stand to hold it. The best way to use seamless white paper is on a c-stand with the roll pointed toward the floor to prevent any seams. creases. or shadows from showing up.
Once you have it hung from your c-stand. fasten it to the floor using tape. If you don’t have the budget to afford a c-stand. you can always attach the roll of paper to your ceiling or the top of a wall in a pitch.
A Quality Camera Helps But Isn’t A Necessity
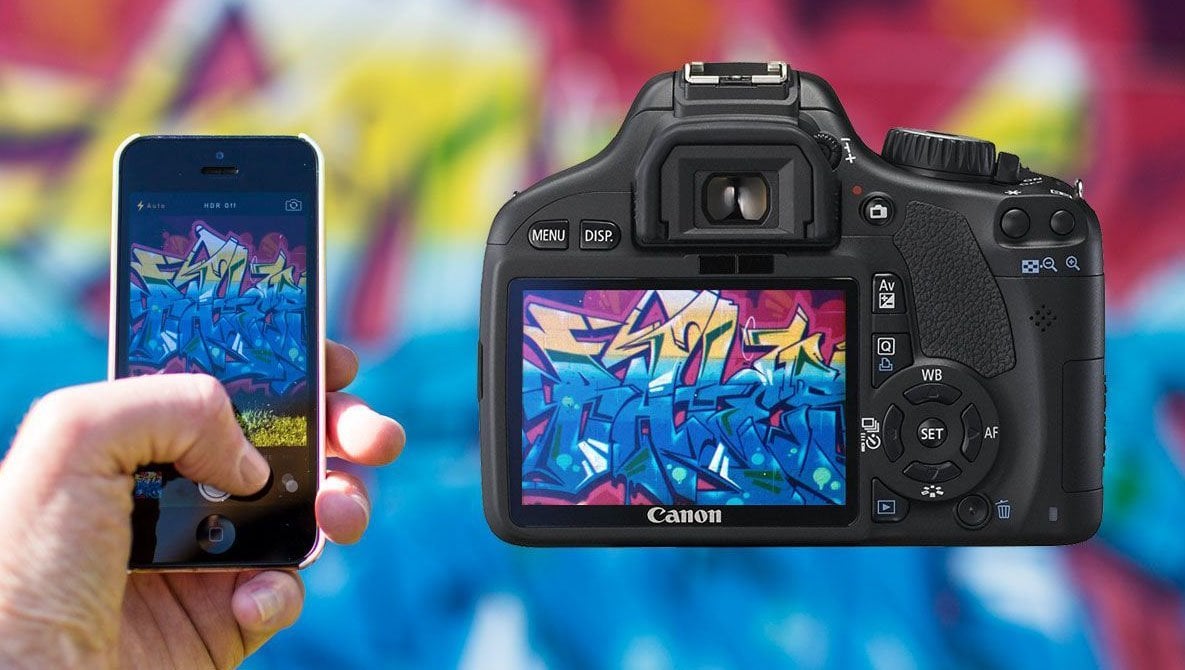
Got a smartphone? Then you’ve got a camera that’s ready to rock. Sure, a fancy DSLR is cool, but your phone can snap some pretty amazing shots too. Just steady it on a tripod, and let’s show Instagram what we’ve got with smartphone product photography.
Will a high-quality camera help you to take professional-caliber photos? Absolutely. Is it something that you have to have for your studio? It isn’t. If you are operating on a tight budget don’t make the mistake of spending most or all of that budget on a DSLR camera.
What can you use instead of a camera? How about your smartphone? Most smartphones today have high-quality cameras that have features comparable to what you’d find on an actual camera.
With a tripod designed to hold it. a smartphone can function as the camera in your studio.
What if you decide to invest in a camera? That’s great if you can afford one. plus the other equipment that you’ll need for your studio.
A quality camera can only help your efforts to take professional-caliber photos. Just make sure that you do your homework and spend some time researching different cameras before investing in one. Much like a smartphone.
If you decide to use a camera make sure that you have it set up on a tripod. Having a tripod will ensure steady photos. and when you consider the fact that you move your clothing instead of your camera during a photoshoot. a tripod makes a lot of sense.
Proper Lighting Is A Must!
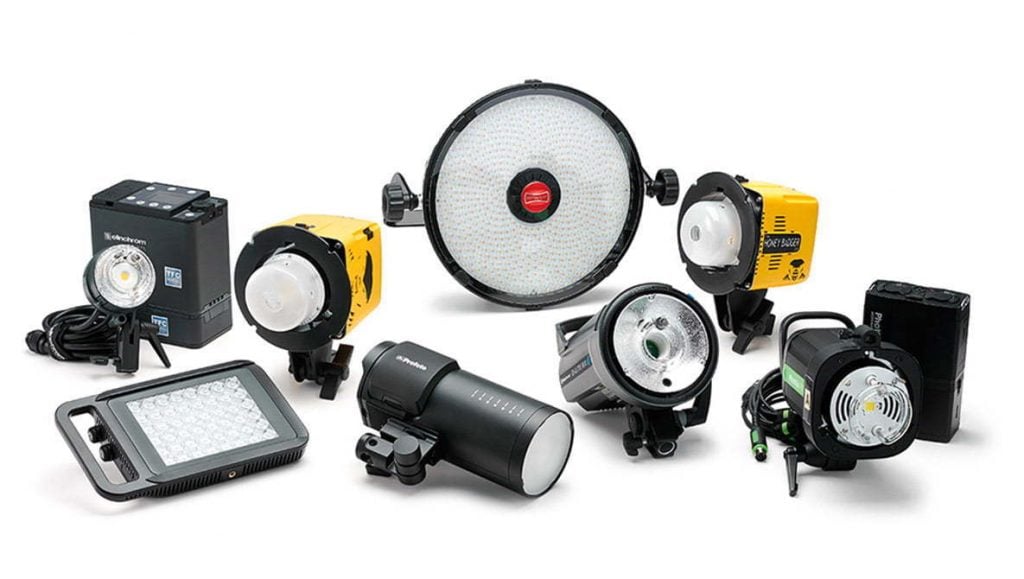
Proper lighting
Lighting is everything! It’s like the sun to your photosynthesis. Natural light is your BFF here, but don’t forget a cool lighting kit for those cloudy days. Let’s get that glow!
When setting up a photography studio on a budget taking advantage of natural lighting is a must. Natural lighting not only looks better than artificial lighting. But it also has the added advantage of being free.
When setting up your home photography studio choosing a room with at least one large window can be very advantageous. and it should be something that you keep in mind when choosing the location for your studio.
If you are able to set your studio up in a room with large windows that’s a plus. but it doesn’t mean that you don’t need to have a lighting kit as well. Having a lighting kit makes it so you don’t have to depend on the weather to be cooperative since you can control your light source.
What equipment will you need? For a single light setup. you’ll need a battery pack. a light. c-stand. pocket wizard. and softbox. What role does each of these components play?
The light is obvious. it provides light for your studio. The best option for your lights is strobe lighting. which believe it or not. can be sometimes more expensive than your camera!
That’s why you need to spend some time doing research to choose the right light before you spend a good portion of your budget.
Learn about the best and worst studio lighting setups.
The battery pack powers your light. and the pocket wizard syncs your camera and light. You’ll use a softbox to diffuse the light. and you’ll connect your light source and softbox to your c-stand.
How To Properly Position Your Lighting
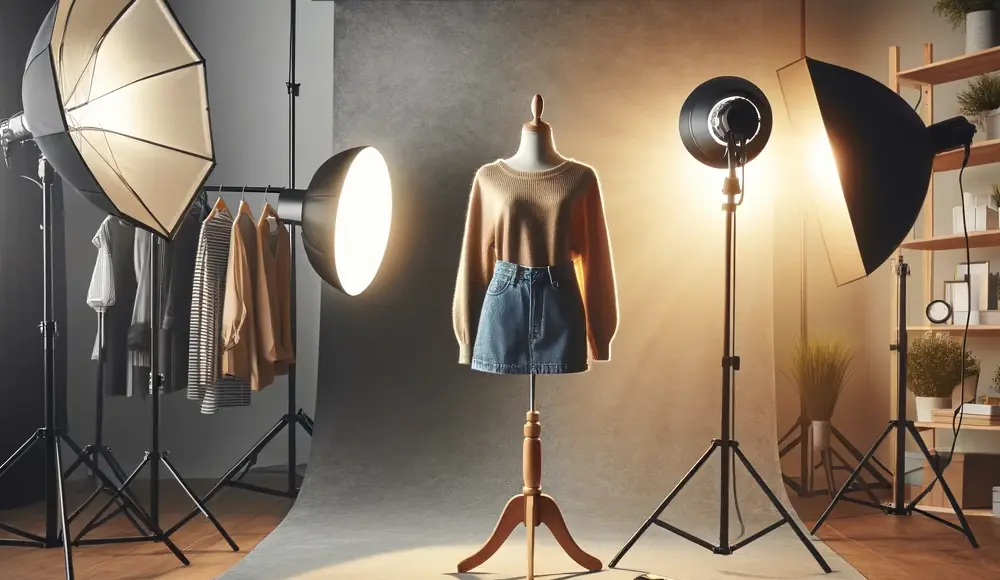
It’s time to play with shadows! Position your lights at a 45-degree angle for that soft, dreamy look. And hey, if you’re feeling adventurous, why not try manually exposing your shots? It’s easier than it sounds and oh-so-satisfying
Positioning the Light Source: Place the light at a 45-degree angle to the product for soft, even lighting, enhancing the appearance of clothing.
Managing Shadows: Avoid unwanted shadows by keeping the light source at an adequate distance from the product, ideally around 6 feet. Use large softboxes on each front/side of the garment, positioned at approximately 45 degrees.
Manual Exposure Technique: Try manually exposing images for consistent results. View through the camera’s viewfinder and adjust settings until the meter reaches 0. This method works well with consistent lighting setups.
Using Strobe Lights: When using a strobe light, remember that it doesn’t emit continuous light for the camera to detect. Instead, use a handheld light meter synced to the camera for accurate exposure readings.
Keep in mind that this won’t work if you are using a strobe light since there won’t be any light for the camera to pick up on until it flashes. If you want to use a strobe. then hook up a handheld light meter and sync it to your camera.
What if you don’t have a light meter?
Today most professional product photographers don’t use a light meter, but if you insist, It will be a little more work. Start by setting the shutter speed on your camera at 1/200 or lower. then set your aperture at f/11 or higher.
Then take a few test shots to see how the images look. after that, you’ll have to manually adjust the settings to get the look that you are after.
Using A Mannequin
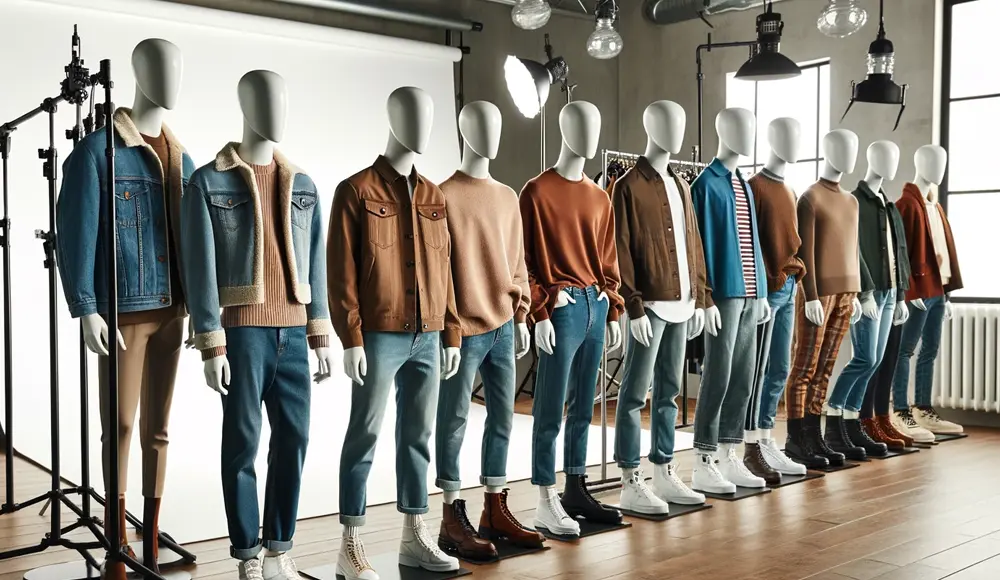
Mannequins: they’re not just for store windows! They help your customers visualize themselves in your clothes. And for a bit of wizardry, make them disappear with Photoshop for that ‘invisible model’ effect. Cool, right?
When someone is going to buy clothing they want to see how it looks on a person. It’s as simple as that. If you want people to buy clothing from you. then you need to have a mannequin to show off your products.
This gives customers a good idea of what a garment looks like when being worn. so they can picture how they’ll look when wearing it.
Would using live models be preferable to using a mannequin?
Of course. but hiring live models is also a lot more expensive than using a simple mannequin. A mannequin is a one-time purchase that allows you to set up a photoshoot whenever it’s convenient for you. You also get the added benefit of being able to take your time and adjust the garments to ensure that they look their best.
Many people don’t like the look of a mannequin in their photos because they feel that it makes them look cheap and unprofessional. Fortunately. you can easily remedy this by using the invisible mannequin technique.
If you know your way around Photoshop, you can easily remove a mannequin from your image.
Master Your Camera’s Settings
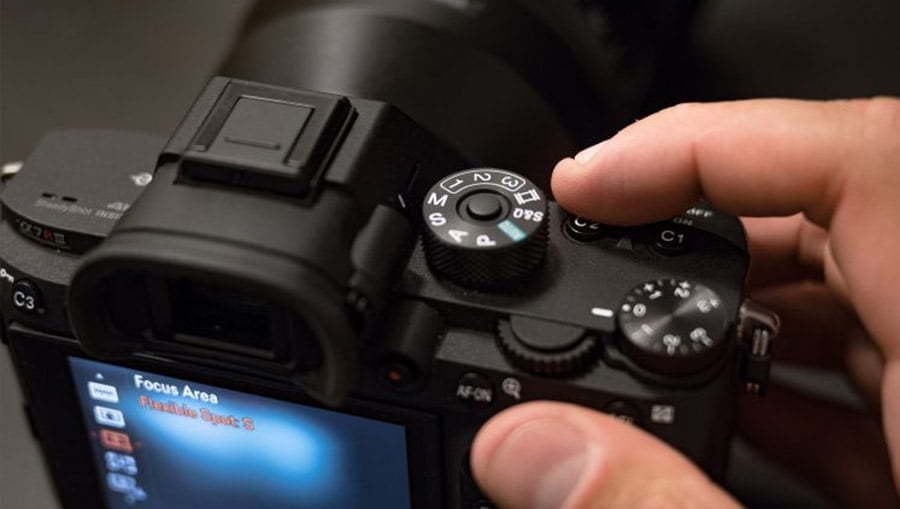
Now, let’s talk nerdy. ISO, white balance, aperture – these are your tools to create photo magic. Keep that ISO low for less grain, balance those whites like a laundry pro, and find that perfect aperture sweet spot. It’s all about making those clothes look fabulous.
Having an expensive camera does you no good at all if you don’t understand how to use it. That means spending time learning how all of the settings work. then figuring out how each setting impacts your photos.
You might think that you can simply use Photoshop to clean up any issues in post-production. but not only is this very time-consuming. it also ends up failing to work more often than not. That means it’s time to start learning about ISO. white balance. and aperture settings.
ISO
When you set up the ISO on your camera keep it in the 100 to 300 range at the max. If you have it set at a higher level it will make your photos appear grainy. which is not how a professional photo should look. The higher you set the ISO to. the more grainy your photos will look. At higher levels. cameras will miss out on details. and the pictures will look overexposed or underexposed as well as grainy.
White Balance
White balance is incredibly important when you’re taking photos because if it’s off you’ll definitely be able to notice it. White balance is one of those things that when it’s right. it’s not something you ever notice. and that’s what you should be aiming for.
Different light sources give off different levels of warmth. creating a color cast. When this happens your camera will have a hard time figuring out what true white is.
Adjusting your white balance settings gives you the ability to show your camera what true white should be. which prevents an unnatural tint from being applied to your photos.
The great thing about modern cameras is that you can set them based upon a specific type of light source. For example. there are settings for natural light. tungsten. fluorescent. and LED.
Aperture
The f-number on your camera settings stands for Aperture. The easy way to think of aperture is that larger numbers usually equals more aspects of an image to be in focus. For most photographers. setting their f-number between 10- 13 gives them the best results.
The Shoot
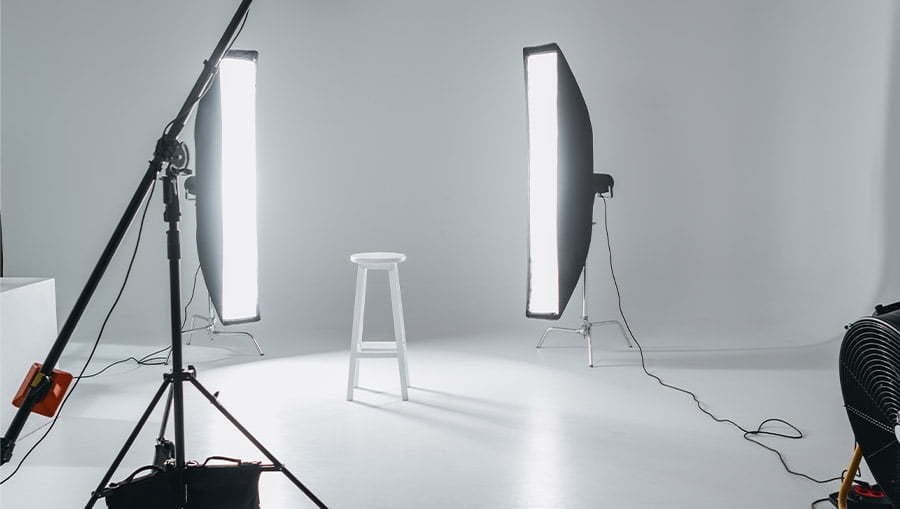
The Excitement of Action: It’s finally time for the fun part – taking pictures. This is your opportunity to experiment with different angles, focus on details, and capture as many photos as possible. Think of it as a photo party where creativity is the guest of honor!
Readiness for Photography: After meticulous preparation, including setting up your studio, acquiring equipment, and mastering camera settings and lighting, you’re now poised to take stunning photos for your online store. This moment marks the culmination of your hard work and dedication.
The Learning Curve in Photographing Clothing: Mastering the art of photographing clothing may have been challenging, but the effort will prove its value. Initially, making adjustments might take time, but with practice, these actions will become instinctive and second nature.
Maximizing Your Photoshoot: Given the time invested in preparing subjects, arranging clothing, and setting up lighting, it’s crucial to make the most of your photoshoot. Capture a vast array of photos from various angles and with different details.
The goal is to provide a comprehensive view of your products, enabling customers to fully understand what they are purchasing. The more photos you take, the higher the chance of obtaining ideal images for your online store.
- Related article: Best Focus Stacking Software for Photography in 2024
Don’t Forget About Post Production
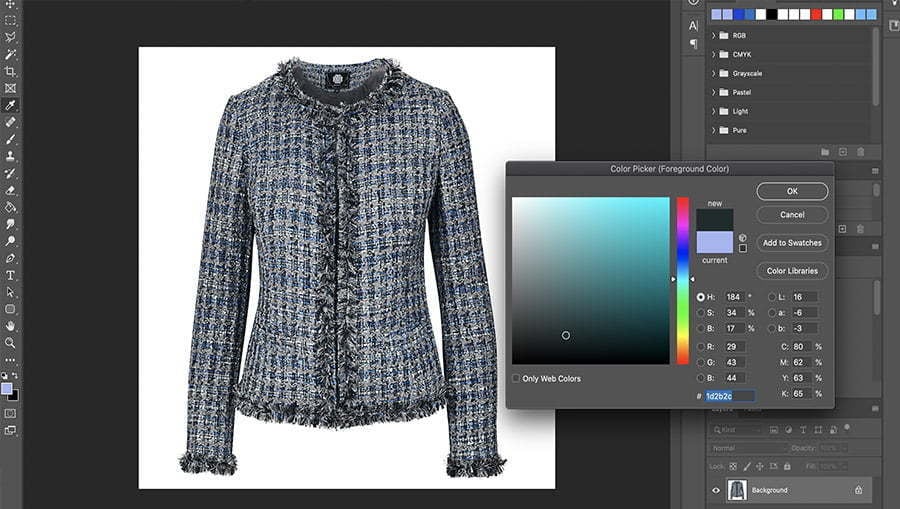
All snapped up? Great! Now let’s polish those pics in post-production. A touch of Photoshop here, a tweak there, and bam – you’ve got yourself some top-notch, scroll-stopping images!
Improve your photo quality with these top apps for fixing blurry pictures.
If you’ve done everything right so far. post-production should be a fairly easy process for you. While the process should be fairly easy that doesn’t mean that you can skip this step.
The goal of post-production photo editing in Photoshop is to give your photos a professional polish. If you have it in your budget to hire a professional for post-production. this is usually a worthwhile investment to make.
Professionally editing photos takes training and experience. so leaving it to a professional is often your best option.
But. if you are a do-it-yourself type. or you lack the budget to hire a professional. you need to be willing to spend time master Photoshop to avoid having photos that look amateurish.
It’s going to take time and effort for you to develop a process that gives you the results that you are looking for. but if you are willing to do it yourself. you can save some money. One thing that you should do is make notes of the processes that you use so that once you figure out what works for you. you can replicate the process over and over again.
Alignment Is Important For Consistency
Consistency when creating your online store is incredibly important. You don’t want a bunch of pictures that look like they were taken by different people. Instead. you want a clear. clean. and consistent series of photos that show shoppers that your online store was built by someone that cares about it.
You need your photos to have products that are centered. and that is the same size in relation to one another. One of the easiest ways that you can ensure that your images are all properly aligned is by using guides in Photoshop.
Cropping your images
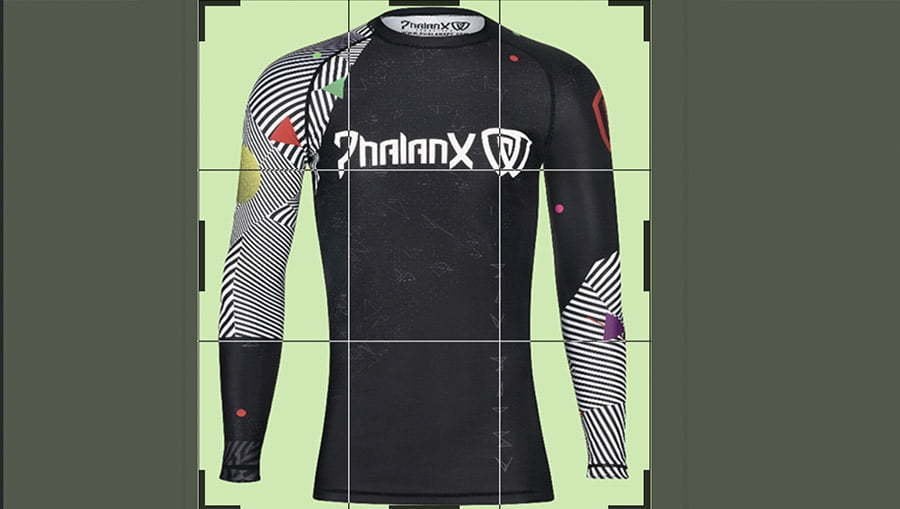
Cropping is like giving your photos a good haircut – it needs to be just right. Keep it consistent for a look that says, ‘We know what we’re doing
If there’s one thing that you take away from this it should be that consistency isn’t just important. it’s vitally important. Using Photoshop. make sure that you crop your images so that they all are the same size. have the same size borders. and have the same overall appearance.
Accurate Colors
Achieving true-to-life colors in your photoshoots requires careful preparation, but even the best preparations can struggle with capturing certain hues accurately. Colors like neons, reds, and pinks are notoriously challenging to photograph. However, you have a valuable asset in your arsenal – Photoshop.
While it demands time and effort, Photoshop allows for effective color correction, ensuring the colors in your photos match the actual colors of your clothing as closely as possible. This accuracy is crucial for customer satisfaction and can significantly reduce product returns.
Photoshop offers numerous color correction techniques. You can find various online tutorials to discover the method that best suits your needs.
Regardless of the chosen technique, always convert your photos’ color scheme to SRGB format. This ensures color consistency across different devices and web browsers.
Practice Makes Perfect
The process of taking your own photos is probably more work than you were expecting. Not only did you have to build a studio in your home. but you also had to learn what different settings do on your camera. how to set up lighting. and how to use post-production to give your photos a professional look.
But remember you’re doing all of this so that your online store will be a success without costing you a fortune by having to hire professionals for your photography. Learning how to photograph clothing at a professional level may have been time-consuming. but if it saves you money and it helps your business. then that was time well spent.
Are you going to make mistakes?

Of course. but that’s all part of the learning process. If you don’t make mistakes then you won’t know what works and what doesn’t. Just remember that over time. you’ll get more proficient. and things will get easier. As long as you follow the steps mentioned above you should do just fine.
We hope this comprehensive guide empowers you to take your clothing photography to the next level. Ready to dive deeper? Don’t miss out on our exclusive webinar where we explore advanced techniques.
if you’re looking to increase your online conversion but still feel you are not sure where to start – check out these resources below:
