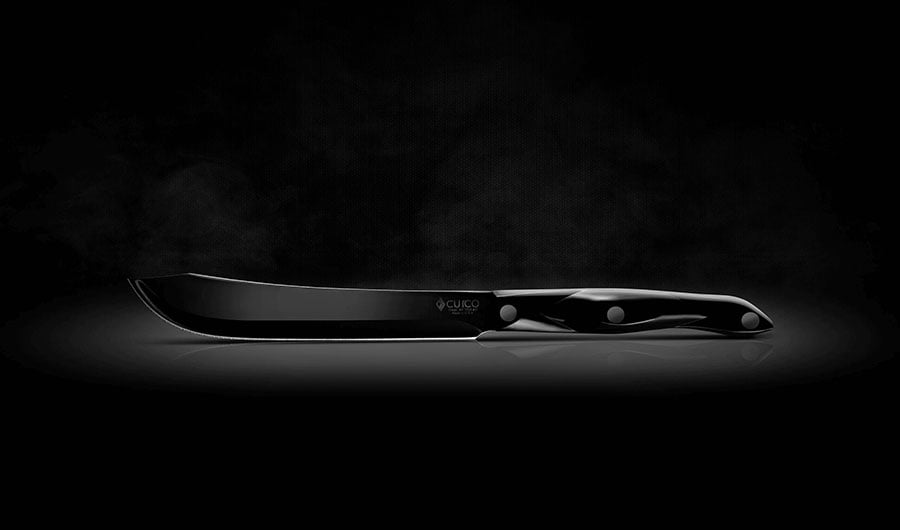
The art of product photography extends well beyond merely possessing the best camera and lenses. The techniques in product photography lighting are crucial for achieving superior outcomes.
For those versed in professional photographer, the nuances of lighting are likely familiar territory. However, newcomers to product photography may encounter a challenging yet rewarding journey in mastering these techniques.
The Nitty, Gritty Of Product Photography Lighting
In product photography, the key to visually captivating images lies in utilizing the right light effectively, whether you’re capturing still images with a professional camera or creating a dynamic product video. Proper lighting can dramatically enhance the appeal of a product, igniting the desire to purchase in potential customers.
In a marketplace crowded with options, it’s the distinctively lit product that captures attention. Light plays a pivotal role in making a product pop.
This concept becomes even more crucial in styles like creative lifestyle and on white product photography, where lighting can dramatically alter the perception and attractiveness of the product.
Let There Be Light

The first time you hear a photographer talk about light, you will probably be somewhat baffled. Photographers see light in a totally different way. The way they talk about the lights they work within a studio setting describes how photographers perceive light.
To make it easier to understand how photographers work with lights, we are going to go through some of the basics of photography lighting.
In a studio, you will mainly find three types of lighting. If you have worked in the photography industry for a while, you are probably already familiar with terms such as key lights, fill lights, and backlights. For the novice product photographer, getting more familiar with the different lights and their functions would help to understand the composition of a photograph.
Key Light:
- Definition and Role: Key light is the primary source of light, setting the tone and contrast for product photography.
- Placement Tips: Optimal positioning for key light varies based on the product, but it’s often placed at a 45-degree angle from the camera.
Fill Light:
- Purpose: Fill light softens and reduces the shadows created by the key light, providing balance in the image.
- Placement Strategies: Generally placed opposite the key light, it’s crucial to adjust intensity to avoid flattening the product’s appearance.
Backlight:
- Importance: Backlighting helps in defining the edges of the product, separating it from the background.
- Effective Positioning: Placed behind the product, often at a higher angle, to create a subtle outline and add depth.
The backlight is very important as it helps to define the product from the chosen background. You will often find that artists use backlights to “draw out” the main subject in a painting or create a focal point.
A Word Of Warning About The Background

When it comes to product photography, clients often want their products to stand out from the background. Some photographers call it a clipping path or transparent image.”
As most clients want to sell their products online, it is important to be able to consider the lighting. White backgrounds are popular, but sometimes a brand has certain colors that they work with as part of their brand image. Often, you will find that the background is changed at a later date by the webmaster.
That means that the lighting you use when shooting the product must work with different color backgrounds.
The Best Lighting Positions For Product Photography
Importance of Background Selection:
Selecting the appropriate background in product photography is not just a matter of aesthetics; it’s a strategic decision that can significantly influence the perception and attractiveness of the product.
Impact on Product Emphasis:
- Enhancing Product Features: The right background does more than just complement the product; it accentuates its key features. This can be particularly effective in drawing attention to specific details, textures, or colors of the product.
- Brand Alignment: The background should be in harmony with the brand’s image and values. For instance, a luxury item might benefit from a minimalist and elegant background, while a vibrant and colorful background could be ideal for more playful, youth-oriented products.
- Contrast and Visibility: A well-chosen background creates a contrast that ensures the product remains the focal point of the image. This contrast is not just about color but also texture and depth.
Color Scheme Matching:
- Complementary Colors: Using colors opposite each other on the color wheel can create a vibrant look without overpowering the product. For instance, a blue product against an orange background can make the product pop.
- Neutral Tones: Neutral backgrounds are a safe and versatile choice. They help in keeping the focus on the product, especially for items with intricate designs or multiple colors.
- Consistency Across Product Line: For brands with multiple products, maintaining a consistent background theme or color palette can aid in creating a cohesive look across all product images, enhancing brand recognition.
This is where your experience as a photographer comes in. You need to think about how the placement of light will impact the product’s appearance.
Once again, you may know that the client has a preference. They may want the company’s logo to be highlighted or the product’s name. These are important points that you need to cover with your client before you start the shoot.
Is Strobe Lighting A Good Choice Or Should I Go For Continuous Lighting?
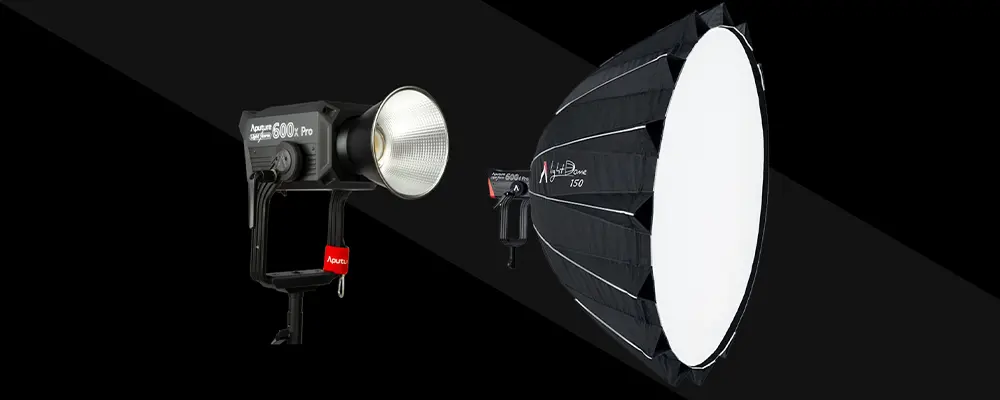
Continuous lighting is often the most popular solution when it comes to product photography. The best examples of continuous lighting include:
It is a good idea to invest in lights with a dimmer function. It gives you much better lighting control over the entire shoot.
Strobe lighting is used as part of product photography. It is great when you want to create a very sharp focus image. However, in the early part of your career as a product photographer, working with strobe lighting is not desirable. It is an acquired skill and you need to make sure you pay close attention to your camera’s shutter speed and exposure.
Where Should I Buy My Lights For My Product Photography Set-Up?

While buying photography lights online is certainly convenient, visiting a store that specializes in photography lighting can be beneficial.
In-store, you have the opportunity to get a hands-on feel for the lights you’ll be working with. It’s crucial to be comfortable and familiar with your lighting equipment, as even subtle nuances in lighting quality can impact your photography significantly.
What About The Quality Of Light And Shadow?
Experienced product photographers often emphasize the importance of light and shadow quality. The nature of the light, whether hard or soft, significantly affects the outcome of your images. Fortunately, you can modify the quality of light with tools like diffusers. Using these, especially in delicate photography genres like food and beverage, helps avoid harsh lighting that can render subjects bland or washed out. More on working with light modifiers is covered in another article.
For those new to lighting, experimenting is key. Try adjusting the lights’ distance from the subject or using grids to focus the light more precisely on specific product areas.
What Lighting Should I Use For Product Photography?
As a budding product photographer, starting with basic lighting kits is a practical choice. These kits are available both online and in local stores. It’s essential to set a budget that aligns with your expected workflow. If you’re not anticipating a lot of high-end commercial jobs initially, it’s wise not to overspend on equipment.
Remember, you can always upgrade your gear as you grow in the field and take on more advanced product photography lighting techniques.

What Are The Best Lighting Techniques In Product Photography?
How do you learn more about light and working with different lighting techniques?
Don’t for one moment think that all of the best product and commercial photographers got it right from day one. Most of them spent a great deal of time studying other photographers’ techniques.
How do you do that? Just like artists spend time studying other artists’ paintings and drawings, you should spend time checking out your fellow photographers’ work. You can look at catalog work or commercial brand photography.
It is likely that a lot of your work will be for sites such as Amazon and similar sites that sell goods. Why not see if you can figure out what techniques the photographer used to create the images that you are looking at.
Now that you know that shadows and light play a huge role in product photography, see if you can figure out where the photographer placed the light to achieve a certain effect.
If you know the name of the photographer, you could always try finding them online. Tell him you are a huge fan of their work and ask them for tips.
Here are a few tips that you may find helpful:
- Take your time and learn how to understand lighting. Many photographers are not prepared to take the time to understand lighting. All they want to do is to snap photograph after photograph. The light really can make or break an image. It is easy to think that altering lighting in post production is the right thing to do. To take a quality product photograph, you need to get the lighting right from the start.
- The size of the light is what determines the softness and the other quality of the shadows in any photograph. Using a small light will result in harder shadows. When you want soft shadows, using a larger light is the right thing to do.
- You need to understand the difference between soft and hard light. If you need to show a product’s texture, you should use hard light. The downside is that it can cause reflections on products with shiny surfaces.
- The position of the light is another main influencing factor. Should you angle the light from above, below, behind, or to the side? That is something you learn from practice and experience.
- The closeness of the light matters as well. A light placed further away appears harder. Frontal lighting produces fewer shadows and side lighting will create more shadows.
- Texture is also an important part of product photography. If you want to add texture, lower and side lighting is the best way to go.
Inverse Square Law In Photography
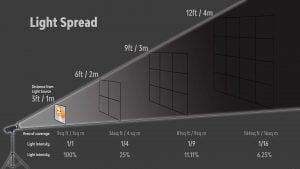
When you study photography, you will learn about Inverse Square Law. It relates to the fall off of light. In other words, it is dependent on the distance of the light and the size of the source.
In layman terms, it means that the further away from the object you place a light source, the faster the light will fall off or trail off. Once again, it is important that you experiment with different ways and distances of placing the light.
Understanding The Tools You Have Available
Of course, when you start out, you may not have so many lighting tools available. Over time you will build up your inventory of tools that can help you to produce better photographs.
That is why it is essential that you know how and understand how to make the most out of the tools you have available. Ultimately, that is what product photography lighting techniques are all about when you want to do a good job.
Other Professional Product Photography Tips:
- Making the right lens choice. As a photographer, you probably have a range of different lenses at your disposal. Extension tubes are a great way of making the most out of your lens and camera functions.
- The angle of view matters. Many product photographers shoot head on. If you would like to make the product stand out more, you should try shooting from a low angle. It can make the product look both more impressive and imposing. Try it and you will soon find that it makes a huge difference.
- Your choice of background and base is another consideration that you don’t want to leave out. Spend some time making the right color choices. Make sure that the colors you choose don’t distract from the product.
- The right light will create the right emotion. Bright and clean lights work well for certain products such as women’s skin care but not always for men’s products. Dark colors more often than not work better when photographing men’s products. However, when you photograph women’s apparel, you will find that lighter colors are the way to go.
Learning How To Manipulate Light
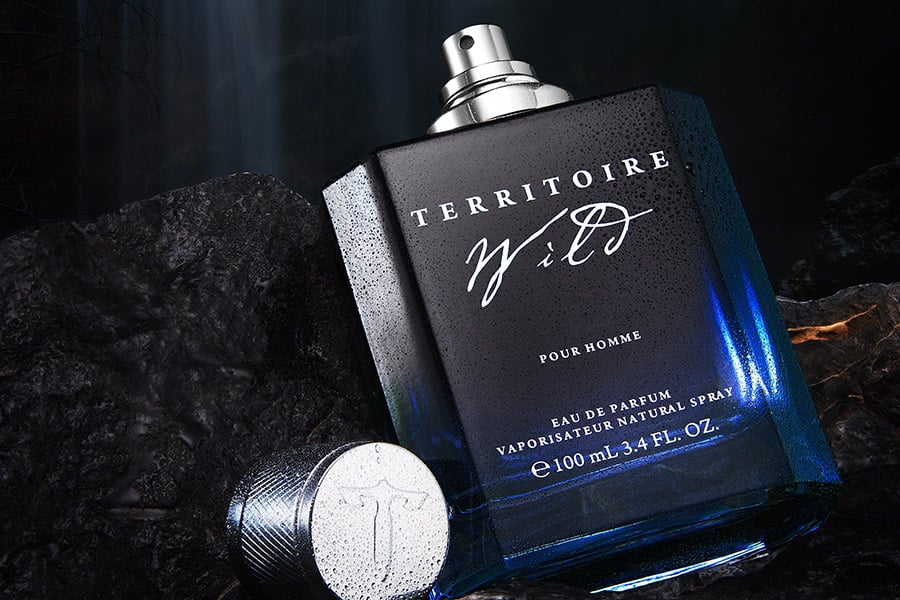
Now that you know more about light, you will have realized that product photography lighting techniques are about learning how to manipulate light.
If you stop and think about it, you will realize that we do it all of the time in our homes. We use uplighters and other forms of light when we want to make our home nice to live in.
Light has a huge influence on the way we feel about something. Men and women react to light in different ways. When you work as a product photographer, you will need to learn to recognize the difference.
That is why it is so important that you study and learn different techniques when it comes to working with light.
When you use light in the right way on a product photography shoot, the sales conversion rate increases. That means the client sells more of the product. When that happens, the client will come back to you again.
Having the right lighting equipment is just as important as having the right camera and lens.
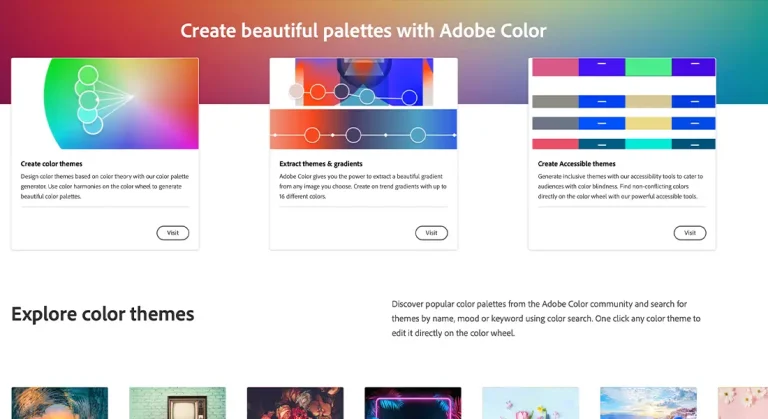
Working With Lighting Effects In Adobe
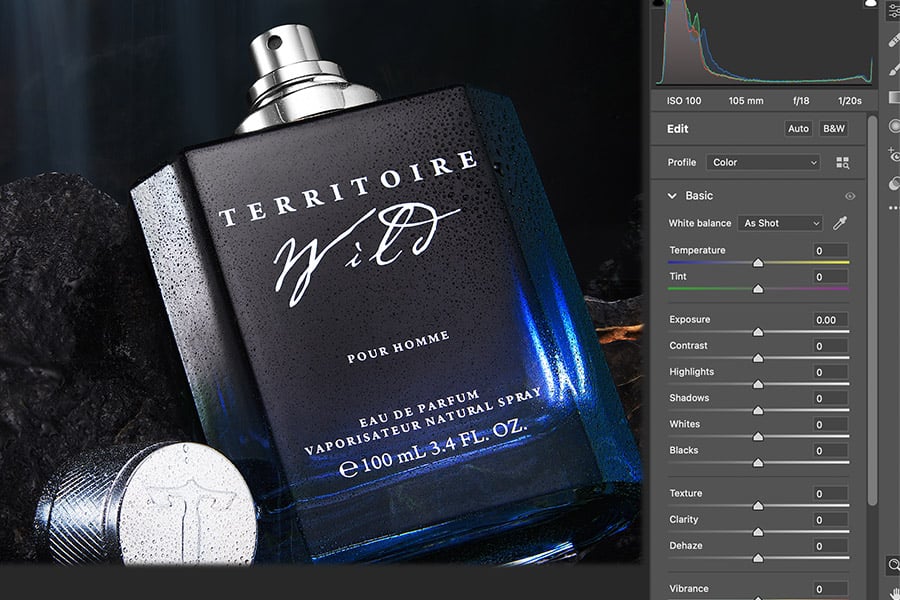
Yes, you can use your Adobe program to work with light. However, you can’t do it as efficiently as you may want to if you have not lit the subject correctly in the first place.
When you have taken your photographs in a studio setting, you can use Adobe to change the color and the intensity of a color in a photograph. That is one of the best ways of making use of Adobe when it comes to product photography.
It is very much an after-effect, but you can certainly put the program to good use. Try to see it as an enhancement tool instead of the solution to using environmental light.
What About Working With Natural Light?

In all likelihood, unless you are doing lifestyle photography, you are probably not going to be working much with natural light as a product photographer.
The problem with natural light is that it is temperamental. It is there one moment and gone the next.
When you are shooting for sites such as Amazon and Etsy, you don’t have to worry about natural light so much.
That being said, it is important to learn how to work with natural light. You never know when a commercial client is going to ask you to do an outside shoot. When it comes to product photography and retaining clients, it is always best to be prepared.
How long does it take to master light? Mastering light is not going to cost you very much. The good thing is that you can delete any experimental images that you don’t like.
The ones that you do like, keep them and make a note of how you used your studio light. You will be surprised how many photographers keep detailed notes of how they took a certain photograph or created a setup for a product. That is how you master the technique of lighting in product photography.



6 thoughts on “Lighting Techniques for Product Photography (updated 2024)”
I am a Photoshop user and I got learned about photography lighting from the post. Thanks for the informative post.
Fantastic information, helped me a lot with my photography business.
Having read this I thought it was extremely informative. I appreciate you spending some time and energy to put this content together.
Good start. You have done well in presenting the right thing. Thanks for sharing.
Lighting Techniques for Product Photography from Pro Photo Studio is an exceptional resource. It delves deep into the technical aspects of lighting, yet remains accessible. The section on color temperature and its impact on product appearance was eye-opening.
Love this post! As a beginner in product photography, it’s been super helpful to learn about the different lighting techniques. The before and after examples really drive home the difference each technique can make. Definitely bookmarking this for future reference 📚📷