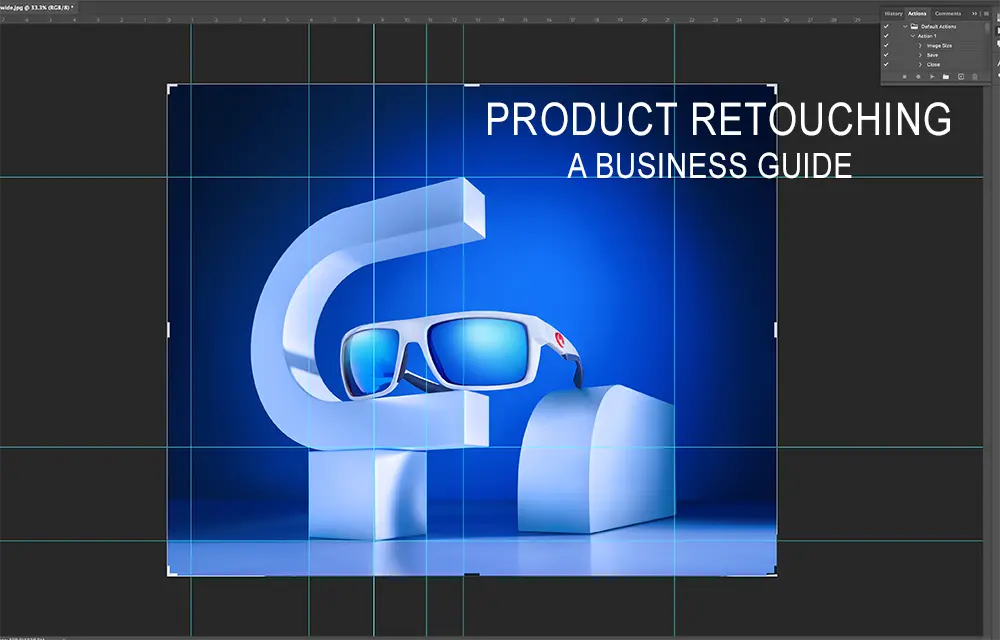
Product photography is a crucial aspect of e-commerce and marketing. The images you use to represent your products online can make or break a sale.
That’s why post-production manipulation, also known as product photo retouching, is so important. In this article, we’ll explore the ins and outs of product retouching and the role it plays in creating high-quality images for your brand.
What is the difference between retouching and editing?
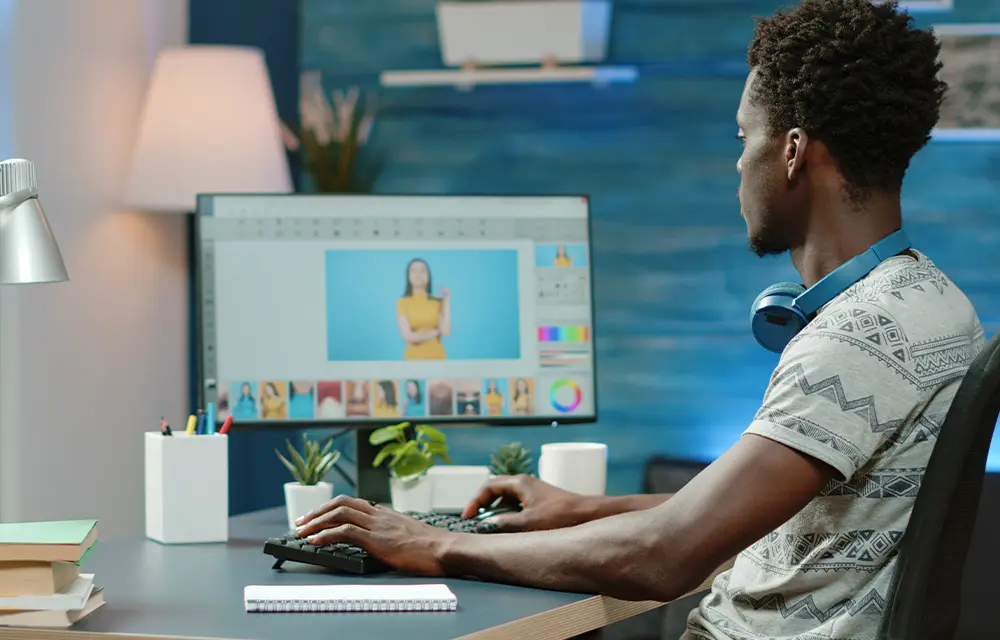
The terms “retouching” and “editing” are often used interchangeably, but they do have slightly different meanings. Editing refers to the process of adjusting basic elements of an image, such as exposure, brightness, and contrast. Retouching, on the other hand, is a more specialized form of editing that involves correcting specific areas of an image to enhance its overall quality.
What does retouching an image mean?
Retouching an image means to make improvements or changes to the image to make it look better. This could include removing blemishes, smoothing out skin, and adjusting color. Retouching is often used in product photography to remove distractions, create a more polished look, and enhance the overall appearance of the product being photographed.
More articles: photography composition techniques
How much should I charge for retouching?
As a general rule of thumb, if you’re just starting out, you may want to charge on the lower end, around $30-$50 per photo, as you build up your portfolio and reputation. As you gain experience and start to take on more complex projects, you can gradually increase your rates to $75-$100 or more per photo.
It’s also important to consider your target market. If you’re targeting small businesses or individuals, you may need to price your services more competitively, while if you’re targeting larger companies or high-end clients, you may be able to charge more.
In any case, it’s always a good idea to research your competition and see what others in your area are charging for similar services. You can also talk to other product retouching professionals to get their perspective and get a sense of what is reasonable and competitive.
Ultimately, when it comes to pricing your product retouching services, it’s important to balance the value you bring to the table with what the market will bear. You want to be competitive and attract clients, but at the same time, you don’t want to undervalue your services and leave money on the table.
More articles: macro photography
How much does skin retouching cost?
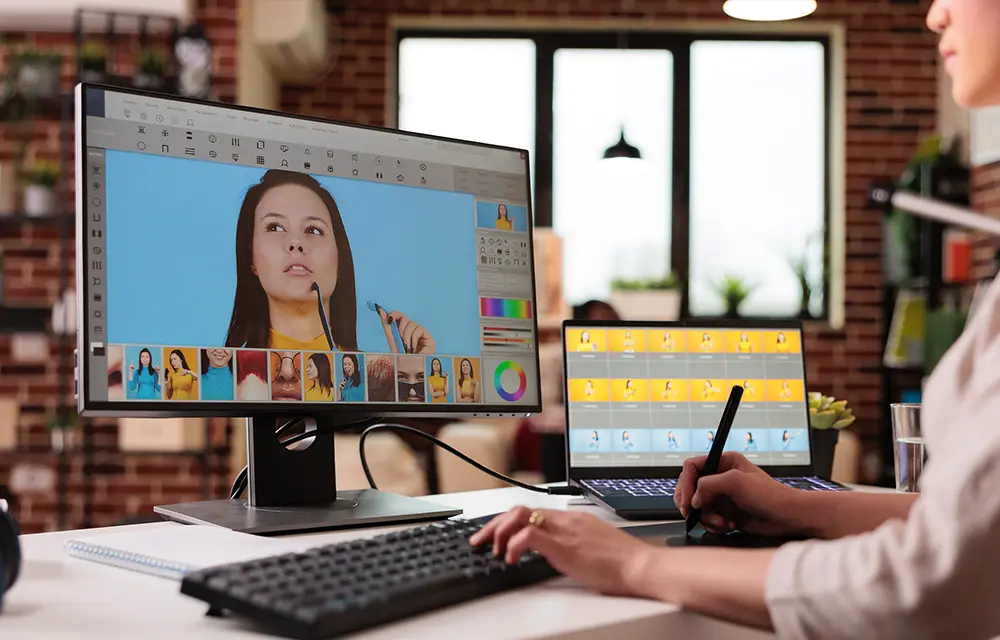
Ah, the cost of skin retouching can vary quite a bit, depending on who you hire and the extent of the retouching required. On the lower end, you may be able to find a freelance retoucher who charges around $30-$50 per photo.
However, if you want to work with a more experienced retoucher or a larger company, the cost can easily go up to $100 or more per photo. It really just depends on the level of quality you’re looking for and the extent of the retouching needed.
For example, if you just need a few small blemishes or wrinkles removed, the cost may be on the lower end. But if you’re looking for a complete transformation of your skin, with extensive work done on tone, texture, and overall appearance, the cost will likely be higher. Additionally, if you need multiple photos retouched, you may be able to negotiate a bulk rate or package deal.
In any case, it’s always a good idea to get quotes from a few different retouchers or companies so you can compare prices and see what works best for your budget.
And remember, when it comes to skin retouching, it’s important to choose someone who has experience and a good track record, as well as someone who can deliver results that look natural and not overly edited.
More articles: DSLR Microphones
What are the most common retouching tools?
- Clone Stamp Tool: This tool is used to remove any unwanted elements from an image, such as blemishes, dust spots, or wrinkles.
- Healing Brush Tool: Similar to the Clone Stamp Tool, the Healing Brush Tool is used for removing unwanted elements, but instead of copying pixels from one area to another, it blends pixels from surrounding areas to create a seamless result.
- Dodge and Burn Tool: This tool is used to lighten or darken specific areas of an image. The Dodge Tool is used to lighten areas, while the Burn Tool is used to darken areas. This tool is often used to adjust contrast and add depth to an image.
- Liquify Tool: This tool is used to manipulate the shape of an object in an image, such as making a person look slimmer or correcting the shape of a product.
- Color Correction Tools: This group of tools includes the Hue/Saturation, Curves, and Color Balance Tools. These tools are used to adjust the colors in an image to make them look more natural or to achieve a specific look.
- Resizing and Crop Tools: These tools are used to change the size and aspect ratio of an image. The Crop Tool is used to trim unwanted areas from an image, while the Resizing Tool is used to change the overall size of the image.
- Layers and Masks: Layers and Masks are used to separate different elements in an image and apply different edits to each element. This allows for more precise and non-destructive editing.
- Sharpening and Blurring Tools: These tools are used to adjust the sharpness and blurriness of an image. The Sharpening Tool is used to make an image look clearer, while the Blurring Tool is used to soften an image or create a shallow depth of field effect.
- Filters: Filters are a quick and easy way to apply a certain effect to an image, such as a vignette, black and white conversion, or a vintage look.
- Adjustment Layers: Adjustment Layers allow you to apply adjustments, such as brightness and contrast, to a specific area of an image without affecting the rest of the image. This allows for non-destructive editing and makes it easier to make changes later on.
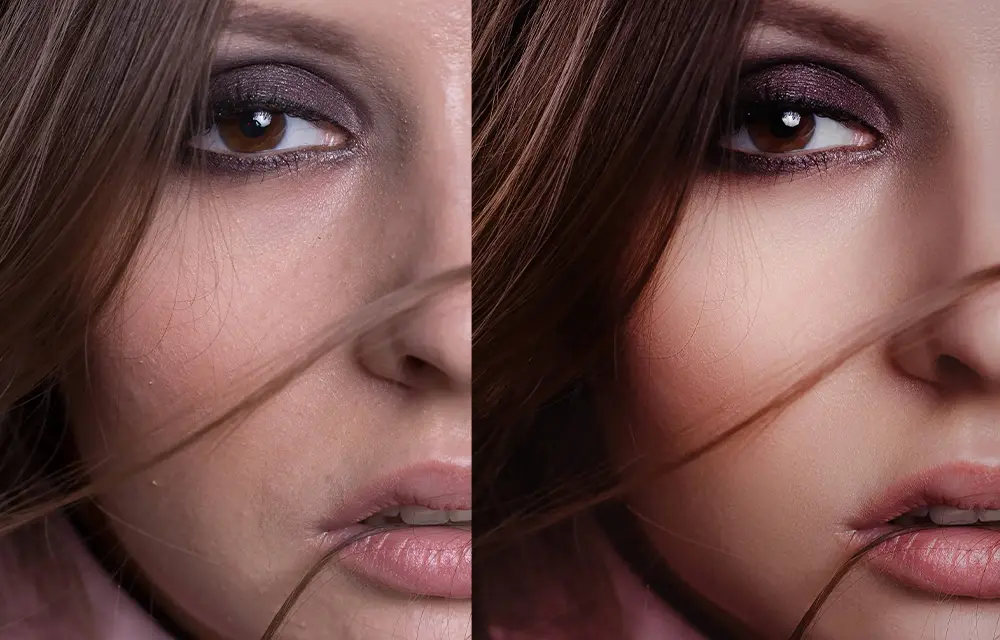
Basic retouching usually includes color correction, removing small blemishes and distracting elements, and adjusting the exposure and brightness of an image.
How much does a retouching artist make?
Well, the salary of a product retouching artist can vary depending on a number of factors such as their experience, location, and the company they work for.
Generally speaking, entry-level retouchers can expect to make anywhere from $30,000 to $50,000 per year, while more experienced retouchers can earn anywhere from $50,000 to $100,000 or even more.
Of course, these figures can also vary depending on where you live. For example, if you live in a major city like New York or San Francisco, you can expect to make more compared to a smaller city or town. Ultimately, the amount a product retouching artist makes will depend on a variety of factors, but with the right experience and skills, the earning potential can be quite substantial.
More articles: external camera screen
How do you do retouching?
Retouching involves using various editing tools and techniques to make improvements to an image. The exact process will vary depending on the specific retouching job, but it typically involves the following steps:
- Importing the Image: Before retouching can begin, the image must be imported into the editing software. This is typically done by opening the software and then selecting the image file from the computer’s hard drive.
- Analyzing the Image: Once the image is imported, the retoucher will analyze it to identify any areas that need improvement. This could include fixing any lighting issues, removing blemishes, correcting color, or improving overall composition.
- Selecting the Retouching Tools: After analyzing the image, the retoucher will then select the appropriate retouching tools for the job. Some of the most common tools used in retouching include clone and healing brushes, the dodge and burn technique, and the liquify tool.
- Applying the Retouching Techniques: With the appropriate tools selected, the retoucher will then begin the actual retouching process. This will involve using the tools to make adjustments to the image, such as removing wrinkles, correcting shapes, and improving skin tones.
- Reviewing the Image: Once the retouching is complete, the retoucher will review the image to make sure it meets their standards and the client’s expectations. If any further adjustments are needed, they will make those before moving on to the next image.
Basic product photography retouching services typically include:
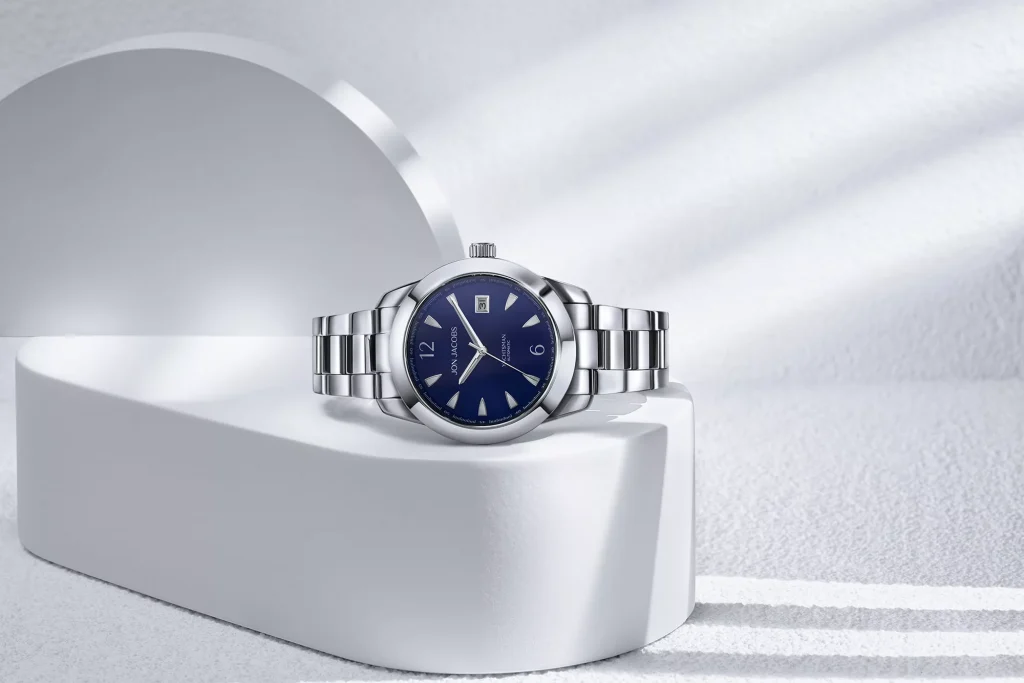
- Color correction: This involves adjusting the brightness, saturation, and hue of the image to make sure it accurately represents the product.
- Product cleanup: This involves removing any blemishes, scratches or unwanted elements from the image to make it look flawless.
- Resizing and file format: This involves adjusting the size of the image to meet specific requirements, and converting the file format if needed.
- Background cleanup: This involves removing any distracting elements from the background of the image, such as power cords or other objects.
Advanced product photography retouching services can include more complex and time-consuming tasks, such as:
- Ghost mannequin effect: This involves removing the mannequin used to display clothing, to make the garment look as if it’s floating on its own.
- Wrinkles removal: This involves smoothing out any wrinkles or creases in clothing to make it look as if it’s brand new.
- Shape correction: This involves adjusting the shape of the product to make it look more visually appealing, such as making a shirt appear more form-fitting.
- Dodge and burn technique: This involves adjusting the brightness and shadows in specific areas of the image to enhance the overall look.
- High-end retouching: This includes a range of advanced retouching techniques, such as skin smoothing and body reshaping, to produce high-quality, magazine-style images.
It’s important to keep in mind that the cost of product photography retouching will vary depending on the complexity of the job and the experience of the retoucher. You can expect to pay anywhere from a few dollars for basic retouching services to hundreds of dollars for premium, high-end retouching.
More articles: Anamorphic Lenses
Final Words
Overall, retouching can be a time-consuming process, but it is an essential part of post-production for many photographers and image editors. Whether you’re a professional photographer or just looking to improve your personal photos, having a basic understanding of retouching techniques can help you take your images to the next level.
FAQs
Post-production manipulation refers to the editing process that takes place after a photo has been captured. This process can include a variety of techniques, such as color correction, product cleanup, and more, to enhance the overall look and feel of the photo.
Product photo retouching is the process of editing product images to make them look more appealing and professional. This can include techniques such as product cleanup, resizing, and file format conversion, as well as more advanced techniques like ghost mannequin effect, wrinkles removal, and shape correction.
Photo retouching is important because it can greatly enhance the visual appeal of a photo. By removing flaws, correcting colors, and adjusting the overall look and feel of the image, photo retouching can make a photo look more professional, eye-catching, and memorable.
Some basic photo editing services include color correction, resizing, and file format conversion, while advanced photo editing services might include high-end retouching, ghost mannequin effect, wrinkles removal, and shape correction.
Color correction in photography refers to the process of adjusting the colors in a photo to make them look more accurate, appealing, and consistent. This can include adjusting the brightness, contrast, saturation, and hue of the image.
Product cleanup in photo retouching refers to the process of removing any blemishes or imperfections from a product image. This can include removing scratches, dust, or other unwanted elements from the image.
Resizing and file format are important in photo retouching because they can affect the overall quality and usability of the image. Resizing can affect the resolution and clarity of the image, while file format can affect how the image is used and shared.
High-end retouching in photography refers to more advanced photo editing techniques that are typically used for high-quality images or for specific purposes. This can include techniques like the ghost mannequin effect, wrinkles removal, and shape correction.
The ghost mannequin effect is a technique used in product photo retouching to remove the mannequin or model from an image, making it appear as though the clothing is floating on its own. This is often used to showcase the product in a more eye-catching and visually appealing way.
The dodge and burn technique is a technique used in photo retouching to lighten or darken specific areas of an image. This technique can be used to enhance the contrast, shadows, and highlights of an image, creating a more professional and appealing look.
if you’re looking to increase your online conversion but still feel you are not sure where to start – check out these resources below:



6 thoughts on “The Art of Product Retouching: A Guide to Perfecting Your Product Images”
THANK YOU SO MUCH FOR SHARING SUCH INFORMATION WITH US. WE ALSO HAVE AN ARTICLE RELATED TO THIS TOPIC. IT WOULD BE A PLEASURE IF YOU COULD HAVE JUST LOOKED INTO IT
Your step-by-step approach, along with practical tips and tricks, has made the entire process seem so much more manageable and effective.
I particularly appreciate your emphasis on maintaining the natural look and feel of the products while enhancing their visual appeal. Your guide has given me a new perspective on retouching and has inspired me to elevate my own product images to the next level.
Thank you very much for publishing the post.
Retouching is awesome as it boosts up looks and beauty. Great work there!
Transform your jewelry into perfection with our expert Jewelry Retouching Services. What a great Blog!!
This guide on product retouching is a treasure trove of tips and tricks. It’s helped me enhance my product images significantly. Absolutely invaluable for anyone in eCommerce!