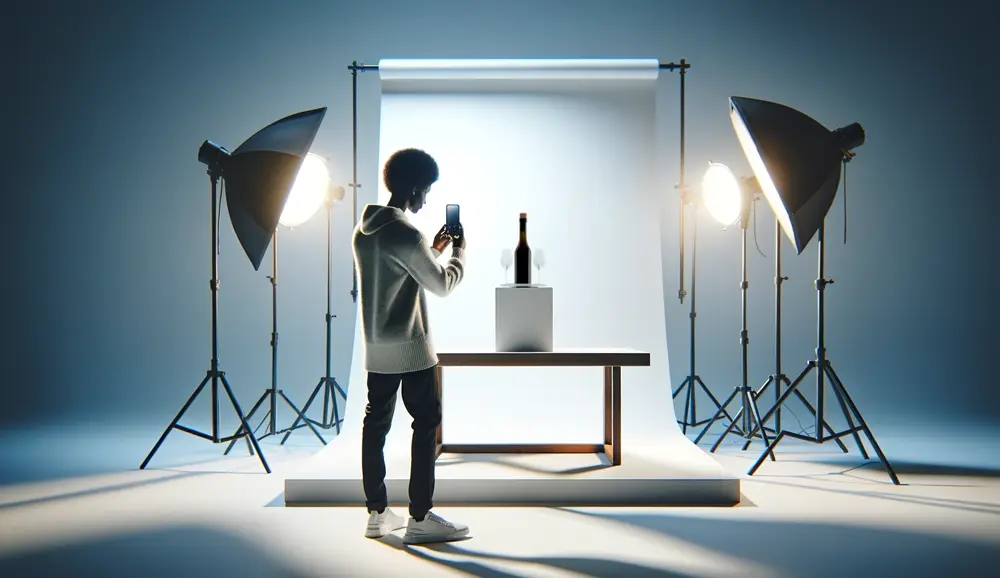
Hey there! If you’ve ever shopped online, you know that it’s the eye-catching photos that make you click ‘buy’. In the digital marketplace, visual appeal is king.
So let’s chat about how you can ace your product photography game without breaking the bank. Spoiler alert: your trusty smartphone will be your hero here!
Since online shoppers can’t touch your products, they really base their purchasing decision on the value that the product photo conveys. That often means having high-quality, beautiful product photography. So to get started, here’s a list of everything you need.
Table of content
Essential Gear: Budget-Friendly Tools for Quality Photos
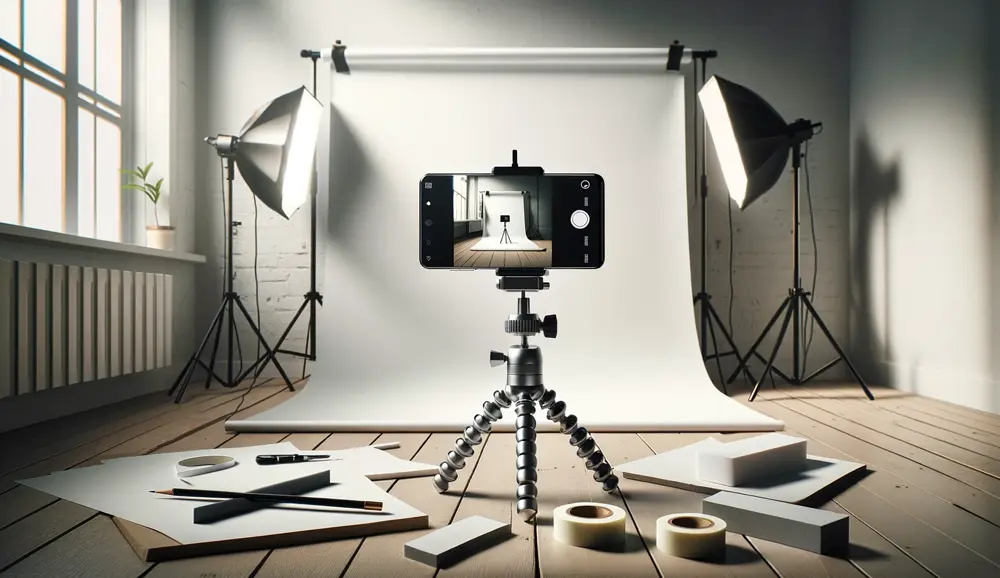
First things first, let’s round up some basic gear. We’re keeping things simple and wallet-friendly:
- Your Smartphone: Aim for the best camera quality your phone offers.
- A Compact Tripod: A game-changer for steady shots and consistent angles.
- A Pristine White Backdrop: It’s all about that clean, professional look, plus it helps with lighting.
- Sticky Tape: You’ll need this to secure items and tweak your setup.
- White Bounce Boards: Perfect for managing shadows and light distribution.
- A Room with Good Natural Light: Windows are your best friends here!
- Diffuser Paper: To soften and balance that sunlight.
Setting Up: Creating the Perfect Environment
Alright, so you’ve got your stuff. Time to dive into setting it all up:
- Place your setup near a window: Natural light is your best pal.
- Check the weather: Overcast or sunny, you’ve got this. A diffuser (like a thin white sheet) can soften harsh sunlight.
- Diffuse the light if needed: Avoid washed-out photos by using diffuser paper or something similar.
The Crucial Role of Lighting
The Lighting Challenge
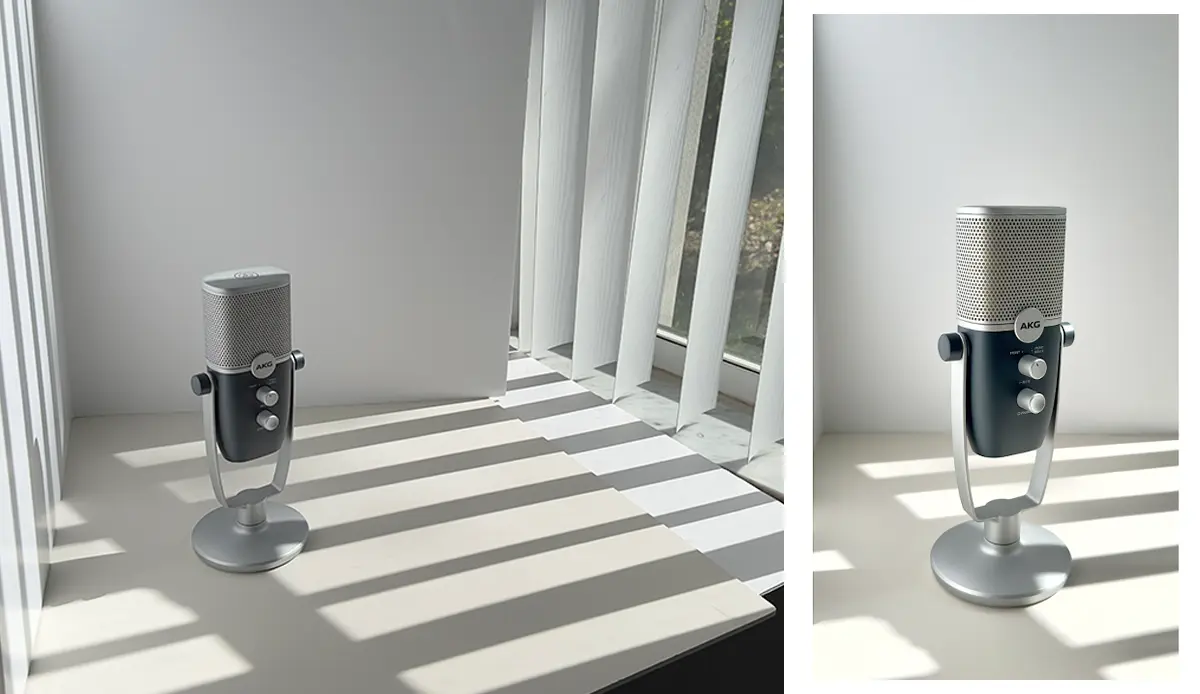
The most crucial part of every photo setup is the lighting, and it’s also the hardest part to get right. There’s no quick fix or one-size-fits-all solution. Different products will require different lighting since they’re different sizes and dimensions.
Tailored Illumination
It’s up to you to figure out what works best for your products. Be open to trying and adjusting new things. Once you get a handle on the basics, it’ll be a case of trial and error until you find the perfect formula.
If the sun suddenly decides to hide behind the clouds, causing the level of natural light to drop, make sure that you have your foam boards on hand.
- Avoid Hard Light: You don’t want to overemphasize tiny imperfections.
- Be Ready to Adapt: Cloudy day? Bring out those bounce boards to amplify the natural light.
- Turn Off Indoor Lights: They can mess with your photo’s vibe. Trust me, I’ve learned this the hard way.
Angles: The Perspective Game
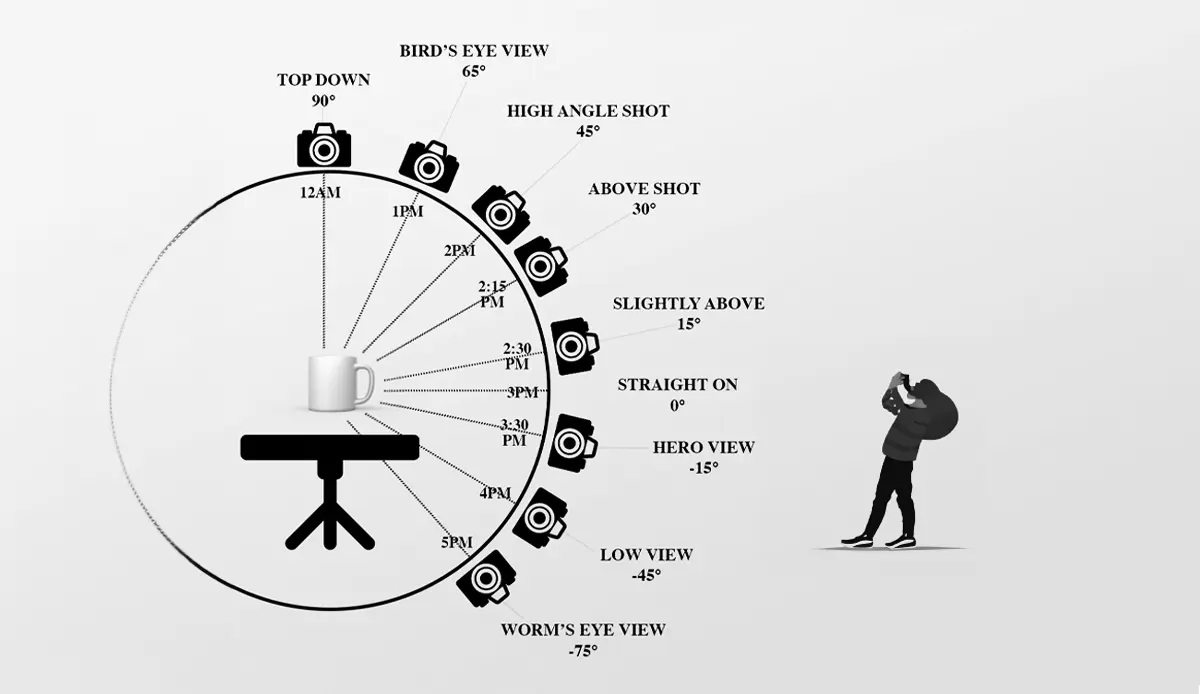
Now, let’s talk angles. We’re not settling for basic front-facing shots. Our goal? Giving customers a virtual tour of your product:
- Mix Up Your Angles: Eye level, high, low, bird’s eye, slanted… Variety is key.
- 360-Degree Views: Show off your product from every possible angle.
These are the main camera angles you should be aware of and experiment with during your photo shoot.
- Eye Level
This shows the product exactly the way you see it in reality. This is recommended for your hero image.
- High Angle
Shows the product from above, as if you’re looking down at it from an angle.
- Low Angle
From below, as if you’re looking up at the product.
- Bird’s Eye
This shows the product directly from above, as if you’re standing directly over it.
- Slanted
This shows the product from one side, as if you’re looking side-on at it.
Now, let’s gear up for the shoot!
Pre-Shoot Checklist
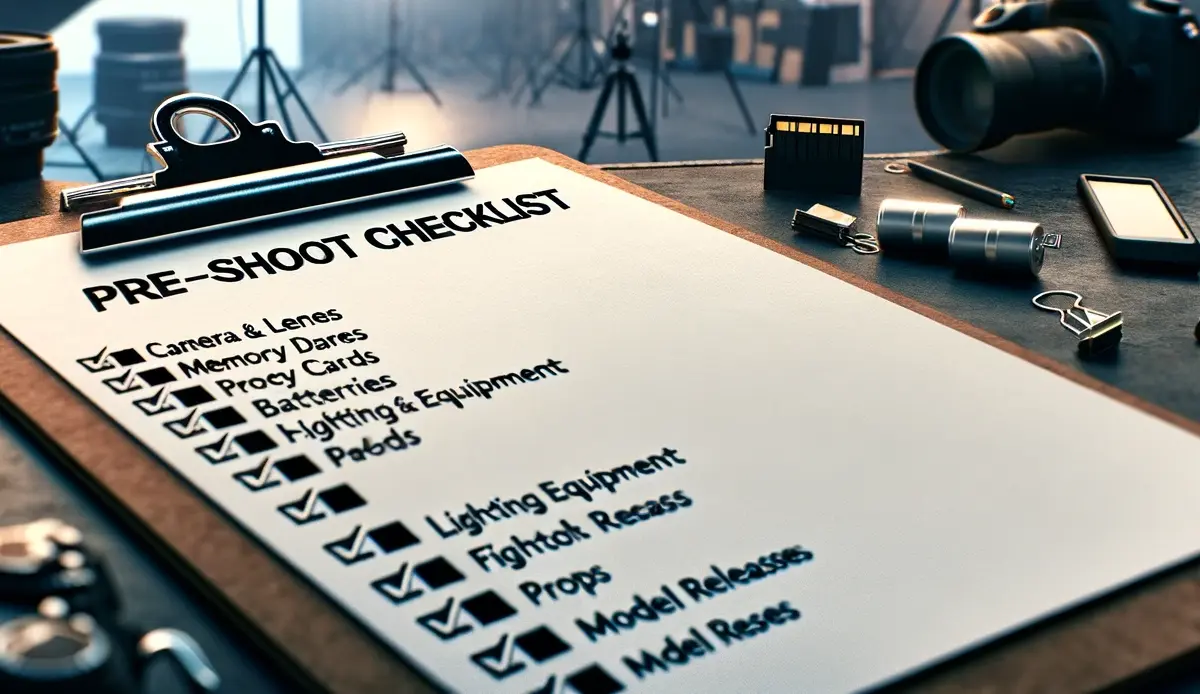
Before you start snapping pics, let’s ensure your phone is all set:
Charge Up & Back-Up
Firstly, ensure your phone is charged and you have backup storage to store your images.
White Balance Wizardry
Set up your white balance. To properly set the white balance according to the light temperature in your setup, touch the WB button and then touch the white background.
Exposure Excellence
Check your exposure. Touch the circular exposure button and then touch your product so that the camera knows to properly expose the product.
Focus with Finesse
Keep things in focus. Touch the circular focus button and then touch your product so that the camera knows to properly focus on the product.
Lock It Down
Make sure you lock your settings. When you’re finished adjusting parameters, make sure to tap each one again to lock it in place. This will keep the camera from auto-adjusting the settings while you’re taking your images.
Shooting Smart
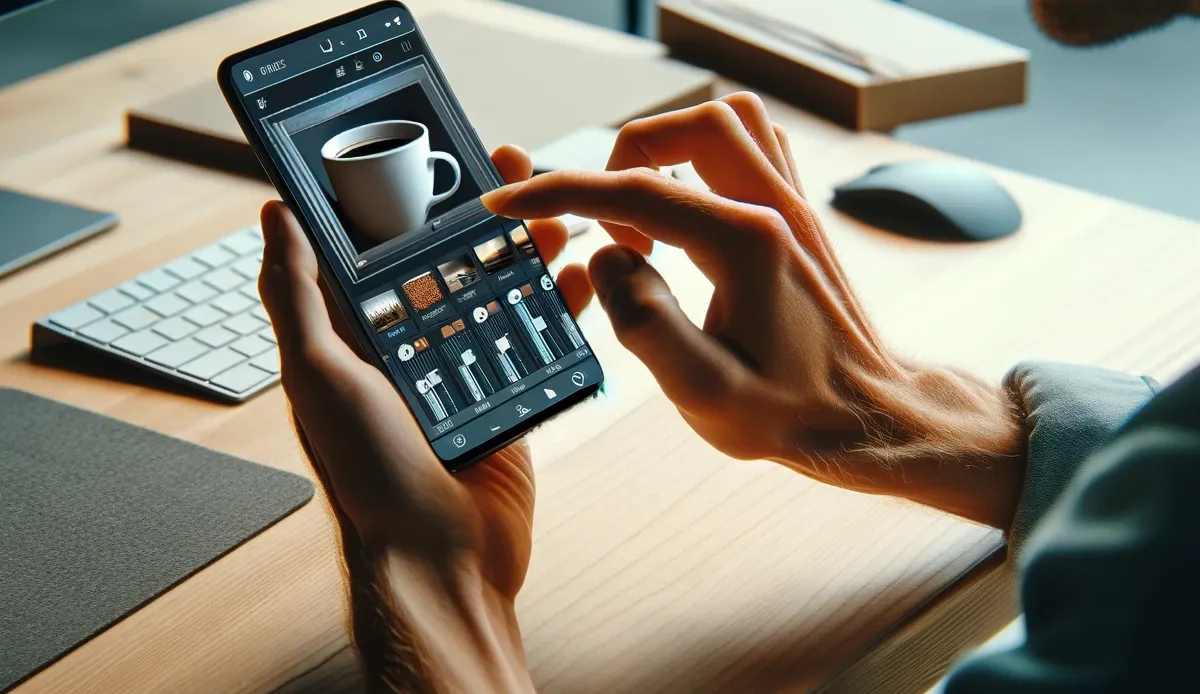
When shooting, we’re going to want to avoid the zoom feature, as this significantly reduces the quality of the image. Avoid using the flash, as this will overexpose your photo and distort the colors.
Editing: The Final Touch
Now that our photoshoot is complete, the next vital phase is editing, which we can conveniently do on our phones.
There’s no need to feel overwhelmed. Forget about needing a high-end computer or delving deeply into complex editing programs. Your smartphone is all you require, and I’m about to show you how straightforward it can be to edit photos, right here and now.
Step 1: Installing the App
First up, you’ll need to download a photo editing app. Head over to your App Store and grab Photoshop Mix. Once installed, launch it and navigate to the ‘Image’ section, then select ‘On My Phone’.
Step 2: Choosing Your Photo
From there, access your recent photos. Let’s pick an image – how about this lovely teacup snapshot? It looks quite appealing.
Step 3: Isolating the Subject
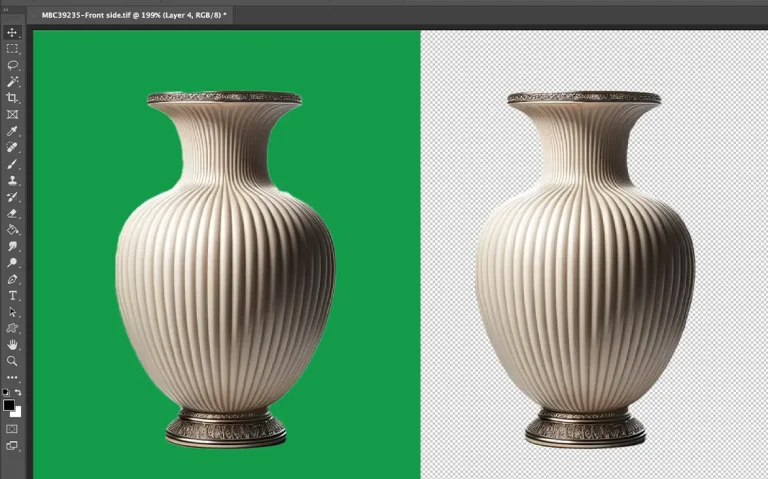
The initial step is to isolate your subject from its background, made easier by our choice of a white backdrop. Go to the ‘Cutout‘ option and hit ‘Auto‘. While the Auto function does much of the heavy lifting, it’s not always flawless.
Step 4: Perfecting the Edges
Next, we’ll use the Smart Tool to fix any missed spots. Zoom in to ensure you capture every detail accurately. If you accidentally include some of the white backdrop, just switch to ‘Subtract’ mode to correct it.
Step 5: Applying a Fresh Background
After successfully separating your image from its background, it’s time to add a new layer. Hit the ‘Layer’ button, select ‘Color’, and pick a sharp white. This step highlights your product against a clean, professional backdrop. If the product seems to blend in, simply move the layer below the product layer, and suddenly, it stands out against the white.
Final Step: Saving Your Creation
Once you’re happy with the result, press ‘Save’. Your image is now primed to shine on your Shopify store or any other platform you use. The best part? It looks so polished and professional, no one would suspect it was edited on a smartphone.
Once you’ve got your shots, a little extra tweaking can make all the difference:
- Aspect Ratio and Composition: These are key for a polished look.
- Color and Tone Adjustments: Fine-tune to make your product pop.
Elevating Your Product Imagery: The Transition from Smartphone to Professional Studio Photography

As your business scales and your budget allows, consider elevating your product photography to the next level with a professional studio like Pro Photo Studios.
While a smartphone can work wonders in the early stages, there’s a distinct difference in quality when you transition to professional equipment and lighting.
Professional studios come equipped with state-of-the-art cameras, lenses, and lighting setups that are specifically designed for product photography. These tools enable a level of detail, clarity, and lighting precision that a smartphone simply cannot match.
Professional photographers also bring their expertise in staging, composition, and editing, ensuring that each image perfectly showcases your product’s features and appeal.
Investing in professional photography signifies a commitment to excellence and can profoundly impact your brand’s perception. High-end, professional photos not only look more appealing but also convey a message of quality and professionalism to your customers. This step can be a game-changer, particularly when competing in a market where visual appeal can make or break a sale.
In summary, while starting with a smartphone is a great budget-friendly approach, transitioning to a professional studio like Pro Photo Studios can significantly enhance the visual appeal of your products, helping to attract more customers and increase sales.
Conclusion: Your Path to Professional-Looking Product Shots
And there you have it! With just your smartphone and some creativity, you’re ready to capture stunning product photos that could rival professional shoots.
Remember, it’s not about fancy equipment; it’s about how you use what you’ve got.
FAQs
he most budget-friendly lighting solution is natural light. Position your setup near a large window to harness daylight and use simple diffusers like a white sheet or budget-friendly diffuser paper to soften harsh shadows.
No, professional apps are not a necessity. There are numerous free and low-cost editing apps that can provide you with a suite of editing tools to enhance your photos right from your smartphone.
A plain white backdrop is typically the best choice. It reflects light onto your product, minimizes distractions, and is preferred by many online selling platforms for a clean, consistent look.
Using a mini tripod is a game-changer for consistent angles. Also, marking your product placement spot and using grid features on your smartphone camera can help you maintain consistency across all shots.
if you’re looking to increase your online conversion but still feel you are not sure where to start – check out these resources below:





1 thought on “Smartphone Product Photography Setup on a Budget in 2024”
The tips for setting up smartphone product photography on a budget were spot on. Great for small businesses and startups!