For any online business enterprise, accurately representing your products or services on your website is very essential. This shows your customers what you have to offer, and ultimately the success of your business. In this regard and as far as jewelry photography is concerned, one thing matters the most: showcasing the details.
Your customers need to see and learn. They want to know as much as possible about your jewelry products before they can consider buying them. Therefore, if you want to have a consistent and highly sought-after professional online store for your jewelry, then you have to know how to take beautiful, detailed and high-quality photos for display on your website.
Below, we have compiled a detailed discussion on the 10 most commonly-repeated mistakes by jewelry photographers. We describe how to avoid falling into their pitfalls when taking photos of your products:
1) Making Casual Preparations for Your Jewelry Photography
Although it’s possible to get rid of most simple flaws from your Jewelry Photography during post-production editing, this is can consume lots of time and money due to the high-level skills involved. It’s therefore advisable to get rid of any tags, strings or stickers from the product you want to photograph before the actual photoshoot.
Being sloppy in your preparations can hurt your business up to the final product’s appeal to your customers and ultimately your profitability also suffers.
Top 5 Tips for Choosing the Best Product Photographer Prices
2) Being Irregular in Your Photographing Style
Nowhere is inconsistency a great trait to have, not least when taking photos of your jewelry products to display on your site. You need to have a consistent style such that your images don’t appear differently-photographed when compared to others taken earlier. Otherwise, you risk confusing your customers and diluting your business professionalism.
Make your camera settings consistent. Crop and size your photos similarly. Use consistent lighting and background colors. Have a template of guidelines and stick to them!
The images below is a good example of an inconsistent style of sizing/cropping.
3) Having Your Backgrounds “Too Busy” With Colors & Stuff
Maintain the impeccable appeal of your Jewelry Photography images and provide your website shoppers with a smooth experience by using a light background color — preferably white but grey is also recommendable — when shooting photos of your jewelry products. In addition to the “sense of timelessness” that such a “clean” background gives your images, color, clutter or pattern distractions are also avoided to ensure your customer focuses on your product alone.
And as we’ve discussed above, you’ll also need to choose a particular style and remain consistent. In the images below, the style used is perfectly clean and consistent
4) Use of Non-Essential Props
You don’t really need to use any props or live models when shooting photos of your jewelry products. In fact, such props may just impede your products’ professional appearance by diverting the attention of your customers from what matters most, i.e. the actual jewelry product. Just place your jewelry items on a flat white or grey surface when taking shots and you’ll be good to go.
Allow your jewelry products enough space to shine by maintaining things in your product image frames clean and uncluttered. In the image below, the mannequin only acts to inhibit the buyer’s undistracted view of the necklace in sale.
5) Use of Improper White Balance
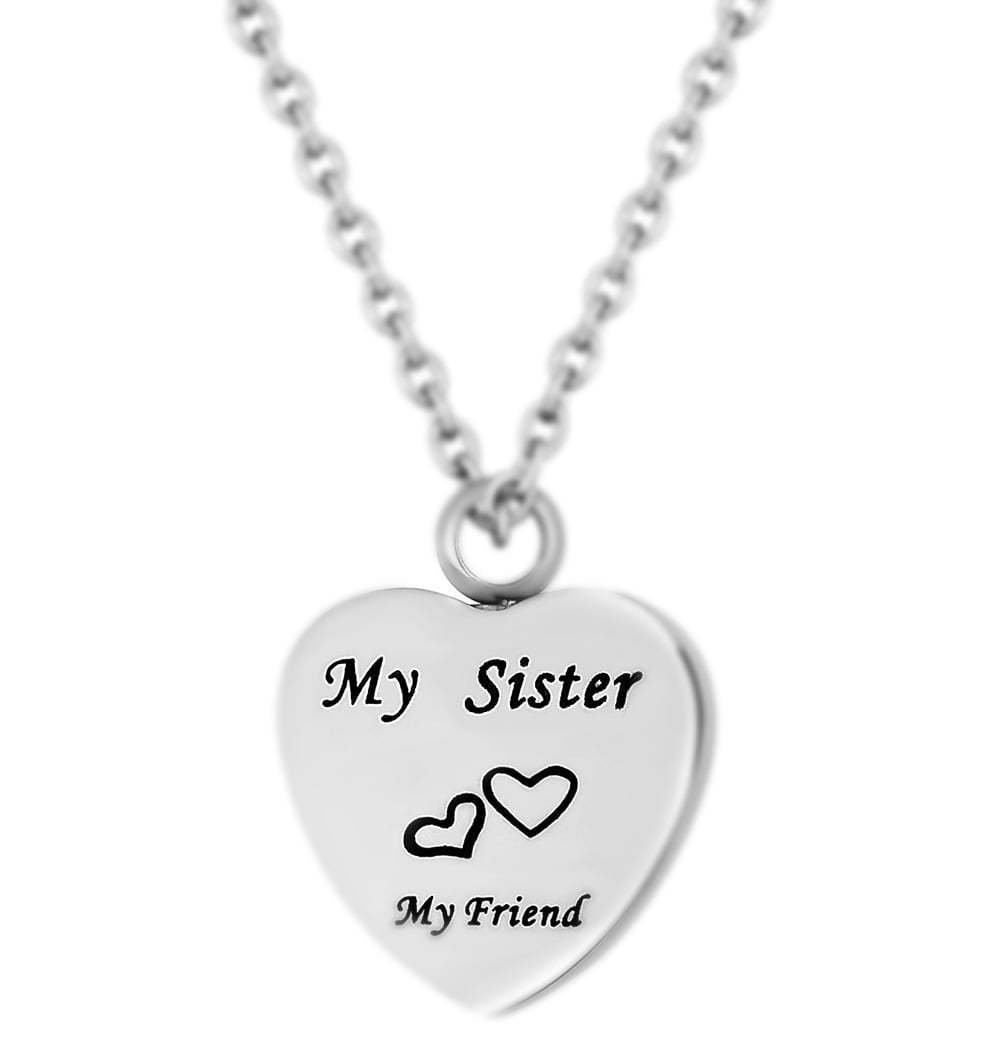
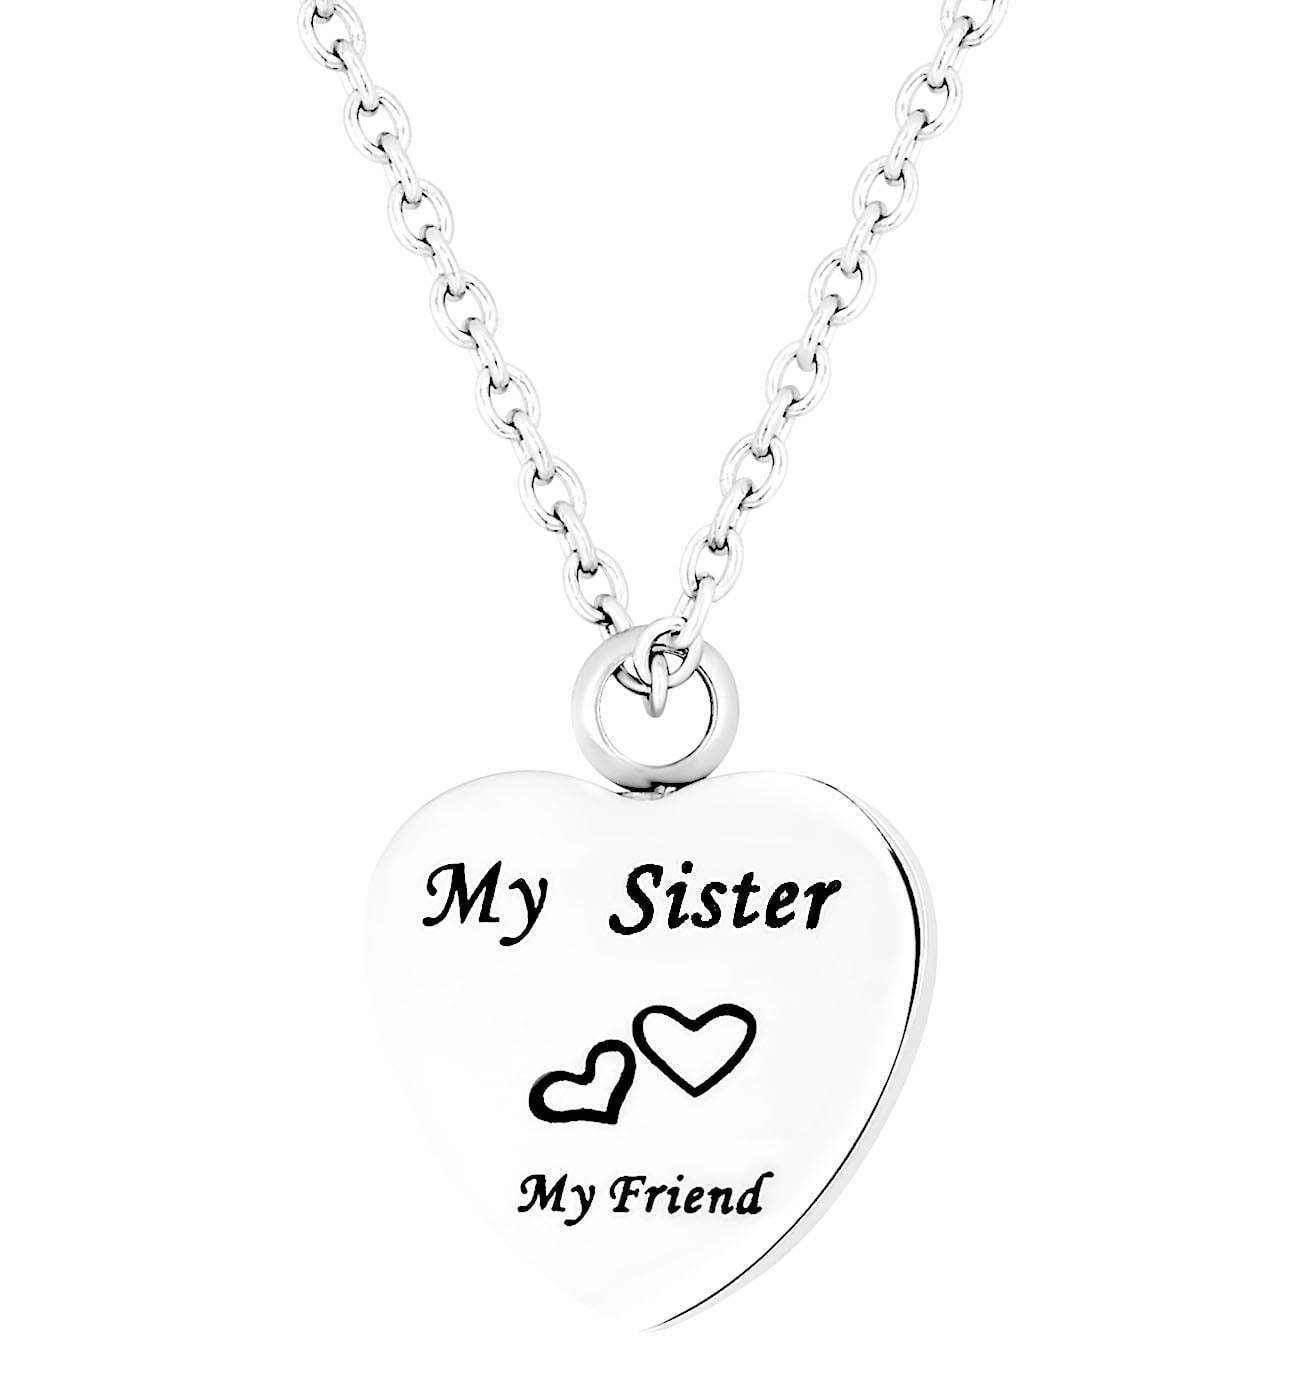
Although the images below represent the same pendant, the images appear very different due to the varying light conditions under which the shots were taken.
While the metal used in the photo on the left is golden yellow in appearance, the right one is a gradient of colors with blue dominating. This makes the two Jewelry Photography photos to have neither clean backgrounds nor appropriate white balance.
Choose appropriate white balance settings for all your images to make their coloring consistent. Although you can manually do this, we recommend simply choosing the “automatic” setting on your camera. This way, the camera recognizes what light source is in the background of the place you’re taking your photos from — whether natural sunlight, bulb lighting, flash, etc. — and captures the colors as close to the way they are in real life as possible. Typically, a camera white balance menu would look like below:
6) Applying Unnecessary (& Even Damaging) Reflections
While a beautiful sparkle from shiny jewelry is a fantastic thing, having lens reflections or too highlighted white spots visible on the photos is a no-no. You can rectify any reflections issues by either adjusting the placement of the jewelry or your own position relative to the source of light. Most likely you’ll also have to zoom in so as to be able to have a better view of the product and make sure no unwanted reflections are carried forward to the final image.
In the images below, the left one has reflections while the right one has none:
7) Using an Image Focus that is Too Soft
To satisfy your buyers’ appeal to your jewelry photography, provide them with sharp and clean images. Maintain everything in focus by taking shots using an aperture of f/11 or higher. Being too soft in focus gives your images a “fall-off” look, revealing less and less of image details.
In the left image below, a short field depth makes its focus “fall off” quite easily the further away your camera is away from the product. Conversely, the right-side image maintains relative sharp focus even for those areas of the product farthest from the camera.
8) Taking Shots in Harsh Lighting
Direct “contrasty” lighting can only reveal flaws in your jewelry products. This increases the likelihood of unnecessary shadows and create unwanted reflections. Whether taking your photos in natural sunlight or an artificial studio, make sure the lighting is soft. Also, be sure to learn the camera’s manual mode to have better lighting control.
Check out the images below; the left one was photographed under soft light and the right one under harsh light.
9) Poor Cropping & Sizing
As we’ve already discussed above, consistency in photographing style is very essential. Unlike the use of different angles, which is a good thing, having multiple crops and sizes only works to confuse your buyers and drastically erode your site’s professional appearance.
Create a template to enable you consistently crop and size all your images accurately. See images below:
10) Applying Only a Few Angles
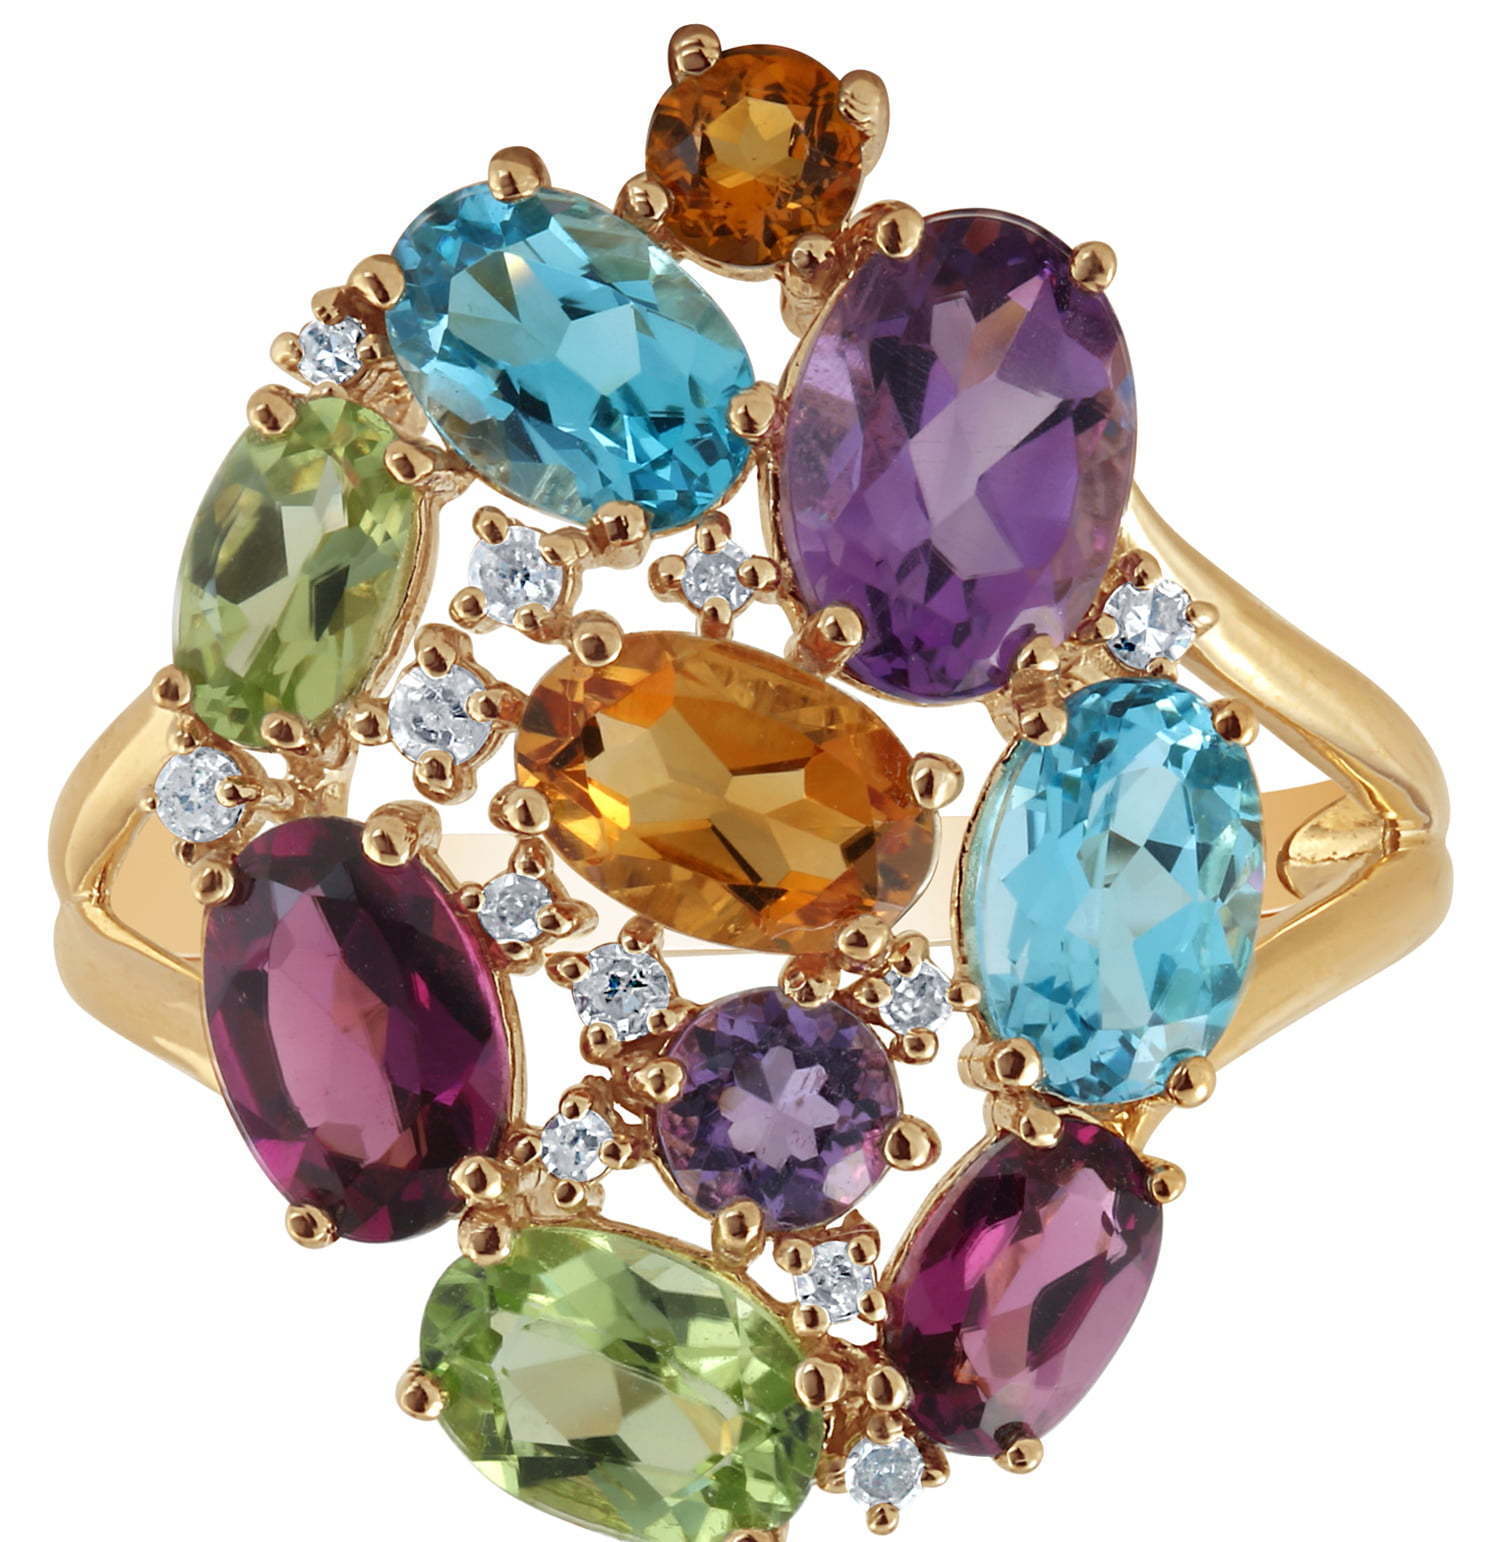
Customers want to view your product image on your site like they’re seeing and turning the real thing in their hands — from all angles! Having more images at different angles better promotes your jewelry products.
Be sure to shoot at least a straight-on photo from the front. Shoot one angled photo from the front, one close-up detail image, one top view, etc.








1 thought on “Top 10 Most Frustrating Pitfalls in Jewelry Photography”
Your writing style is engaging and informative. I’ve learned so much about photography from reading your blog.