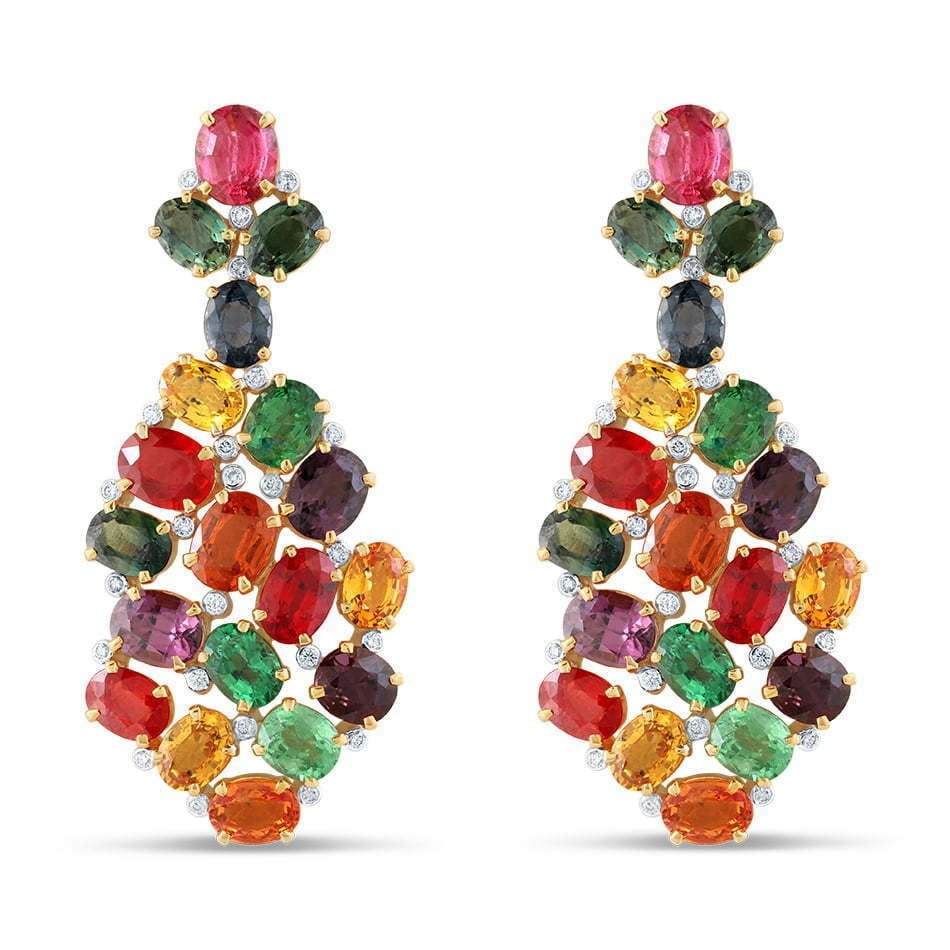
Jewelry photographs can make or break any advertisement of your product. You’ve spent countless hours creating the most beautiful piece of art that you are now selling to others. You want people to see the details of the piece and to love it as much as you do.
To ensure this happens, you’ll need to invest a bit of time into creating jewelry photographs that really tell the story of each piece and bring out its intricate details. How can you perfect the jewelry photograph?
Get the Lighting Right
The first step is to ensure proper lighting on each image. Natural light is one option for those who wish to create an image that showcases the lines of your jewelry.
If this is the case, take photos when the light is best, usually around noon. If you want smoother lines and less distinctive shapes, choose light early in the morning or late into the afternoon.
If you have the budget or the equipment, You want to choose a diffused light in a studio environment.
I personally use 2 Einstein E640 Lights and a shooting table. On top of that, I am using 2 diffusers from both sides and one from the top
Get Up Close
Often, the best way to see the fine craftsmanship of a piece of jewelry is to get up close to it. Allow your photos to showcase the detail. Getting closer to the piece (not just zooming in) can make the biggest difference. Get close up pictures that show the details of the piece.
Then, take photos that show the entire piece as one. Personally, I find that the 105mm Sigma Lens or the 180mm Sigma Lens is the best way to go. Do this from various angles to find the best possible shot.
Choose the Right Background
Jewelry that’s brightly colored or a statement piece really can stand on its own. If you have items that are silver or gold, in a single color, you’ll need to choose a background that brings color and depth into the image.
A plain white background is often best for those who have pieces that are able to stand out on their own. It also helps to intensify the light. However, a non-white background has advantages as well.
For example, placing a piece of rustic jewelry on a wooden plank helps to portray more of the story behind the piece, allowing it to stand out beautifully.
Conclusion
When choosing to display each and every one of your jewelry pieces for sale, it pays to create stunning photographs. Hiring a professional to do this can help to ensure your piece sells for the highest amount possible. Create a brand image of the beautiful intricacies of your jewelry pieces.


1 thought on “How to Create Stunning Jewelry Photographs”
I’ve been a professional product photographer for a while now, but I still picked up some new tips and tricks from this post. Your insights on lighting techniques are invaluable and I’m sure that I’ll be referring back to this blog post in the future. Keep up the great work!