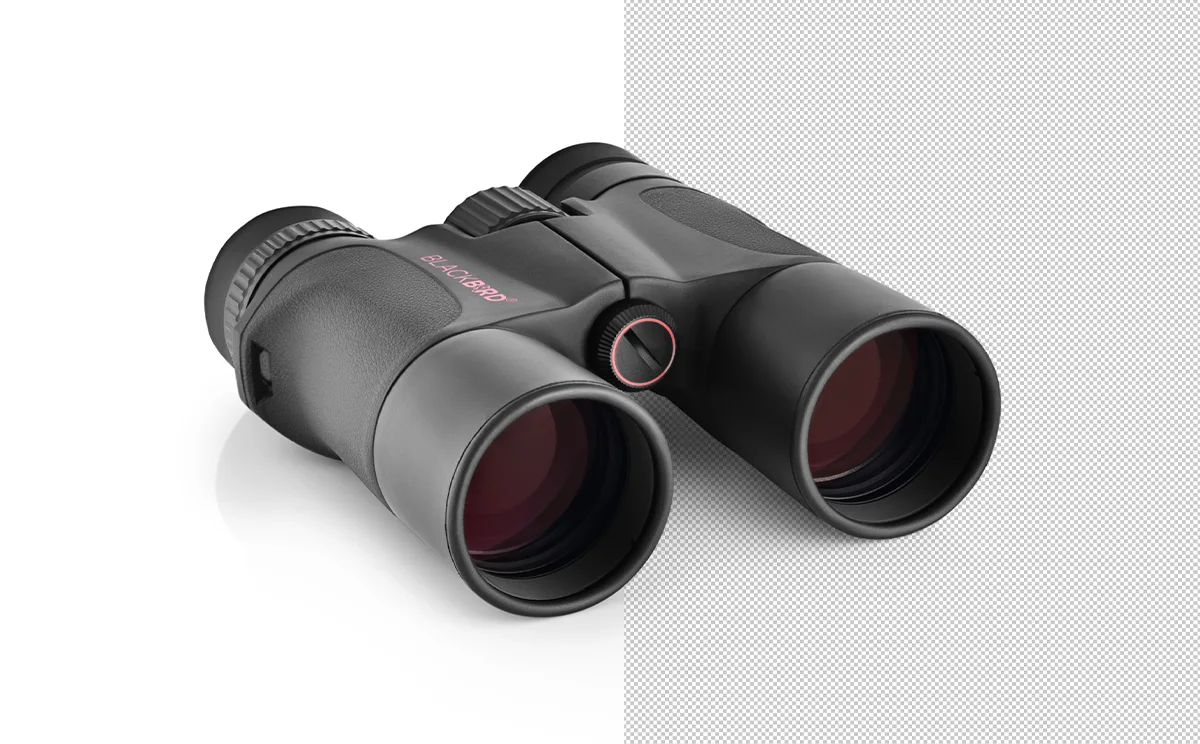
As a professional product photographer, I know that getting clean, distraction-free shots is critical. Whether I’m shooting on white, black, or colored backgrounds, ensuring my images have perfectly removed backgrounds highlights the products and makes my clients happy.
But such perfect background removal in photography is truly an art form – it takes skill, the right editing tools, and techniques that not all photographers have mastered.
In this in-depth guide on background removal, I’ll share my best tips and hard-won advice for efficiently removing backgrounds from product photos. These techniques work for busy photographers shooting thousands of products a week, like those working for ecommerce companies.
They’ll help you save hours of editing time while still delivering flawless results. From camera settings to capture cleaner shots to the best software for precise cutting and blending, you’ll learn the product photography background removal process I’ve perfected over my career.
The Keys to Clean Product Shots In-Camera
Before you can remove backgrounds cleanly in post-processing, it pays to set up shots correctly during the shoot. Little tweaks to your camera settings and lighting can make removing backgrounds much easier later on. Here are pro tips for setting up seamless white or colored background product shots:
Use Wide Apertures for Shallow Depth of Field
Choose wider apertures (like f/3.5 or lower f-stop numbers) so your background blurs while keeping the entire product sharp. This naturally separates and lifts your subject from the background.
Light Backgrounds Brightly
I overexpose my white and light-colored backgrounds by around +1 to +1 1/3 stops. This removes any shadows and uneven tones that make cutting around products harder in editing.
Watch Product Shadows
Keep shadows to a bare minimum. Use extra fill lights, reflectors, or flags to limit shadows behind or underneath opaque products. Harsh shadows make selecting and masking tricky.
Choose Contrasting Colors

Pick product and background colors with high contrast. For example, shoot bright red products against white or black backgrounds.
This high contrast eases background removal compared to low-contrast product/background pairings.
Background Removal Software for Flawless Cutouts
With perfectly lit studio product shots, you’re primed for easy background removal in post. That is, if you’re editing with capable software like these favorites tailored for ecommerce product retouching:
Adobe Photoshop
The imaging heavyweight has the most advanced selection and masking tools, like Select Subject and Refine Edge, for intricate cutouts even down to fine details like hair and transparent objects. It also lets you easily touch up images and rebuild backgrounds in the same edit.
when Adobe debuted its new AI-powered background removal tools in the latest Photoshop, I was beyond thrilled (and a little skeptical, I’ll admit). Could artificial intelligence really take over one of the most tedious and detail-oriented editing tasks?
After putting Select Subject and Refine Edge through their paces on hundreds of product shots with complex backgrounds, I’m blown away. This is like having a super smart yet flexible assistant doing the initial background isolations so I can focus entirely on subtle refinements and perfectionist polishing.
Select Subject truly feels magical—a single click and complex lace dresses, curly hair, branchy jewelry, you name it are separated almost flawlessly from chaotic backgrounds.
Refine Edge takes it a step further allowing me to easily fine-tune just problem spots instead of manually cutting out an entire product pixel-by-pixel. I smooth fringing, grow back missing transparent bits, and perfect stray sections in a fraction of my usual editing time.
These tools aren’t foolproof; AI still struggles with super narrow contrast edges and removing every single background artifact behind transparent objects. But the accelerated workflow is a total game changer for me as a high-volume product photographer. I can’t imagine working without my AI background removal assistant now!
Clip Studio Paint
Affordable and packed with features tailored for illustrators, manga/comics artists, and animators. Its unique Tolerance Mode selects even subtle tones for flawless background removal behind intricate objects other programs struggle with.
Gimp
A free, open-source image editor with advanced selection tools rivaling Photoshop in power. Its Paths tool lets you plot and edit vector outlines with bezier curves for ultra-accurate clipping paths around products.
Each has pros and cons for busy product photographers and edits hundreds of images per day. For most, Photoshop still can’t be beat for polish and control when backgrounds must be removed with razor precision. But apps like Clip Studio and Gimp are catching up in features while costing much less.
Simple Background Removal Techniques

While software does the computational heavy lifting, you still need the trained eye and steady hand of a seasoned pro editor. No program automates the process completely; garbage in, garbage out, as they say.
Even with great source shots, these manual refinement techniques take background removal from good to flawless:
Careful Lasso Selections
Slowly trace irregular product edges while zoomed way in, constantly adjusting your lasso tool’s thickness and softness. Stay detail-oriented to capture every nook the computer misses.
Micro Mask Refinement
Toggle overlay masks on and off to spot tiny missing areas along color boundaries left behind after auto-selection. Fix these by brushing in the mask layer.
Subtle Blending
For products shot against white walls or colored paper backdrops, blend edges gently into the background using Layer Masks. This accounts for subtle shadows and prevents unnatural cutouts.
Content-Aware Fill for Missing Background Spots
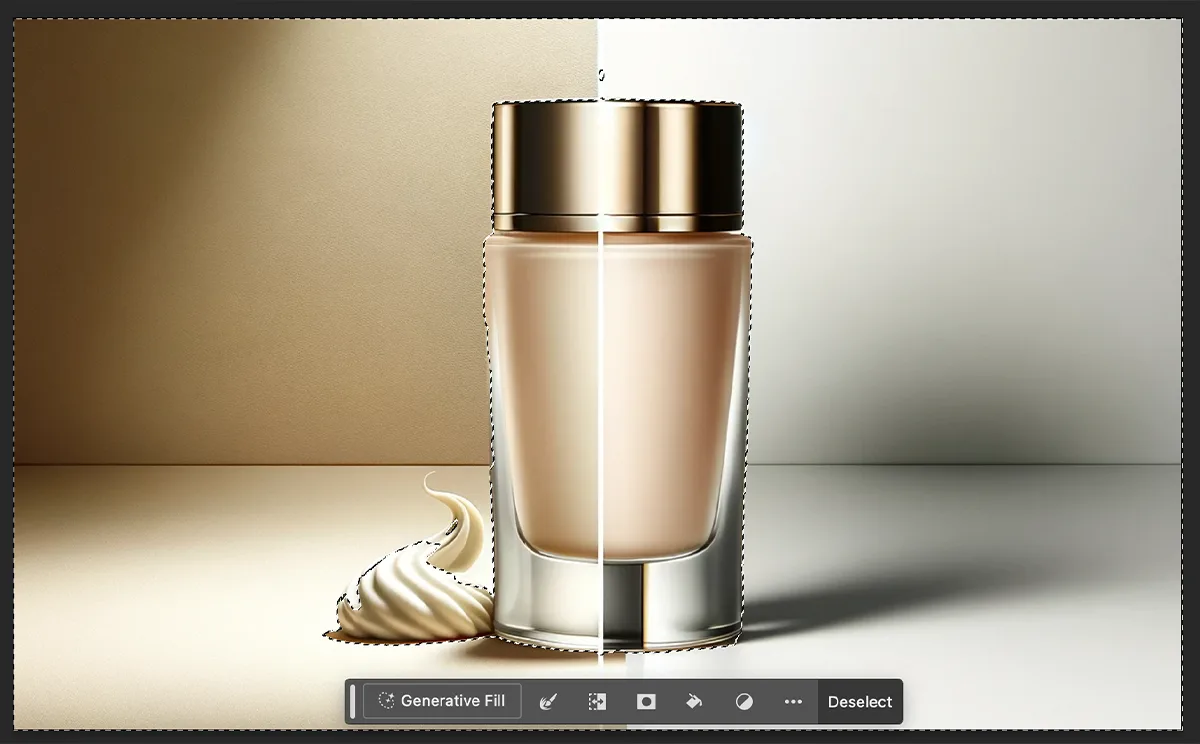
Photoshop’s AI-powered fill feature replicates nearby textures to reconstruct missing wall areas behind extracted products. This completes backgrounds without leaving obvious gaps or flaws.
Path Cutouts Around Detached Elements
Plot vector paths around details like shirt tags, handles, or transparent bottle areas. Convert these to selections to neatly cut them out from the backdrop separately.
As you can see, true professional background removal relies on both software automation and manual craft. One without the other fails to produce client-ready shots.
Images must be perfectly clipped with zero fringing or halos along edges – while retaining shadows and subtle edge lighting that makes products look realistic rather than cut-and-pasted.
This degree of perfection doesn’t come easy! But put in your 10,000 hours with the pen tool, layer masking, and other techniques outlined here and flawless background removal will feel effortless.
You’ll breeze through edits for all your product photography clients. And your perfectly refined images will sell their products like nothing else.
I hope you now feel empowered to begin offering background removal services! Feel free to reach out if you have any other questions.
I’m always happy to chat more about product photography and post-processing. Together we can continually elevate our art and help clients sell more products.
FAQs
The easiest backdrop to remove is a solid color that contrasts clearly with the colors in the product. White and black backgrounds provide high contrast against most products. Green or blue screens also work very well.
Use wide apertures for shallow depth of field, overexpose light backgrounds so they become pure white, watch for and eliminate product shadows, and choose backgrounds with high contrast relative to product colors.
Adobe Photoshop has the most advanced selection tools like Select Subject, Refine Edge, and layer masking options ideal for complex cutouts. Clip Studio Paint features unique Tolerance Mode for subtle selections. GIMP is a free alternative with advanced pathing and selection power.
Carefully lasso along difficult edges while zoomed way in, brush in missing coverage spots in overlay masks, blend softened edges into backgrounds to look natural, use Content-Aware fill for background gaps, and create vector paths around tricky detached details like tags or transparent sections.
Product background removal must be flawless, with no fringing, halos or imperfections along edges or in the rebuilt background areas. Realism is essential for the product to not look obviously cut-out and pasted onto a new backdrop. This requires painstaking precision.
if you’re looking to increase your online conversion but still feel you are not sure where to start – check out these resources below:


