Glass Objects
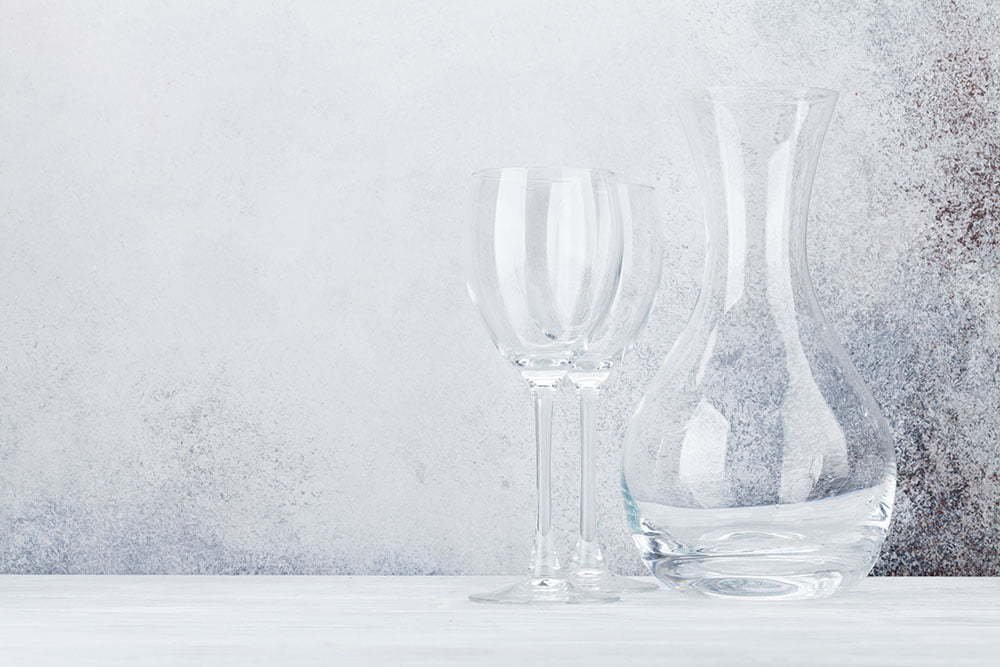
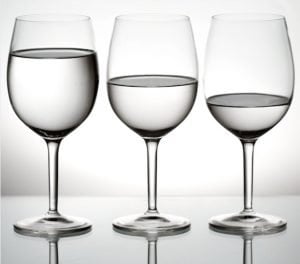
Plain glass photography is simple because your main intention is to overexpose your object /glass.
However other items such as sunglasses and flowered patterned glass objects have specific patterns which you can not simply blow out using the backlighting. In this case, choose specific light in order the view all the details of the product in the image.
Organize your setup
The glass will be placed on a large table and you will also require an umbrella that will diffuse the light.
This will be positioned on the left side of the glass. The next step is to hang down the white sheet or rolled paper in a way that it sweeps all the way down to under the product.
In order to get the best result, connect the end part of your sweep to the base of your camera lens so as to reflect some of the light back to the glass while eliminating any reflections that may be in the foreground.
Position some foam boards on either side of the object. This should be on the opposite side of the source of light (Strobe or a continuous lamp).
The two foam boards should be tapped together to form a ‘V’ in order to funnel the focus of the light that’s reflected all around the product in order to obtain a soft and even light.
A reflection on certain glass objects such as sunglasses will distract the viewer and probably lower their perception of the product. Choose to attach the white paper at the base of the camera lens for a better reflection.

Use an iPod to keep the frame of the glass consistent. The camera should be positioned a bit higher than the product itself than you normally would with backlit glass products in a way that you are photographing down at your glass product.
This will rule out reflections and facilitate a flattering angle to the product. See to it that the product has been thoroughly cleaned.
Properly using a side lighting technique will mean that the post-processing procedure required will be minimal.
The product should be free from smudges or specks of dirt/dust. The background should be purely white and the hue of your product should be precise.
Edit out the defects that you missed before the shooting session, for instance, scuffs and hardware scratches.


