Getting the Grips With Beverage Photography
Helping clients market their drinks brands or cocktails is perhaps one of the most challenging parts of product photography. If you are starting in product photography, you probably ask yourself how you can make a drinks bottle or a cocktail in glass look good. The truth is that beverage photography is both exciting and challenging.

When you want to make sure your beverage photographs stand out, the work starts long before you go ahead and set up your camera. As I like to say to newcomers of product photography, preparation is the most crucial part of beverage product photography.
So, before you start, think about what you want to say. What are you photographing? Is it a clear bottle or a glass with a delicious drink that you want to enjoy on the beach with someone special?
Remember that every product has a story.
Top Things You Should Pay Attention To When It Comes To Beverage Photography
Let’s take a look at what you need to create that perfect beverage or drink photographs.
- The bottle or glass must be clean. You may not think that a few fingerprints will matter, but your camera will pick them up.
- Create a product feel. One of the best ways of creating a sense for a clear bottle containing a clear liquid is to add condensation. Don’t worry, and I will explain how you can do that.
- More than likely, you will need more than one bottle to work with on the shoot. When one bottle gets too hot under studio lights, you need to replace it.
- Choose the suitable base surface and background, both will have a significant impact on the finished photograph.
- Light the product correctly.
- Determine your camera settings and composition.
- Please take a few trial photographs and see how they turn out.
- When you are photographing a bottle, focus on the label
- Pay extra attention to retouching your photographs.
What Kind Of Lighting Should I Use?
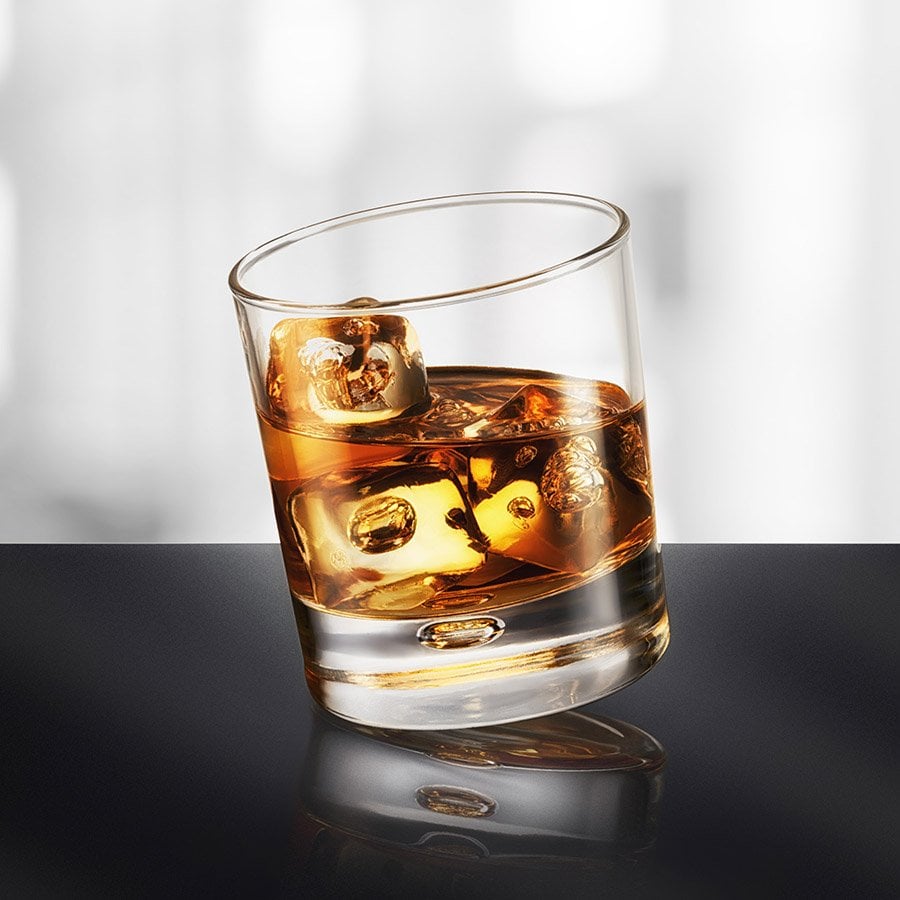
The best lighting for beverage product photography is backlighting. There is an excellent reason why you should use backlighting.
I am sure that you have studied other photographer’s beverage photographs and images. You will have seen that most of them use backlighting through some type of diffuser screen.
Fabric scrims are excellent light diffusers. But, if you are only starting or don’t have a scrim available, you can use an acrylic sheet. Acrylic sheets also make suitable light diffusers.
Some photographers like to work with natural light. I can understand that. The downside is that natural light is not necessarily the best way to shoot clear liquids. I always find that you end up with too much light reflection.
I use an artificial light source as I find this works the best, and I can easier control artificial light. However, the light must come from behind the bottle, no matter your light source.

In addition, the Levi’s brand has many classic cuts when it comes to jeans and other clothing items that come and go with new fashion trends. Keeping an eye on highly sought-after brands and what products they are currently launching is a great way to keep ahead of what will become popular in the coming months!
The only problem with backlighting is that it may be hard on your exposure. Using a scrim certainly helps, but you should also play with the distance of the light. Using a reflector to bounce back the light is another good idea. When working with a reflector, make sure that you keep it opposite from your immediate light source.
Side backlighting is also proper for some drink shoots. It can add some unique qualities with fewer exposure problems.
How To Manage Reflections On A Beverage Shoot
Controlling reflections is another challenging aspect of beverage photography. That is particularly true when you try to shoot a bottle. It is easy for everything in the room to end up being reflected in the bottle.
One of the best ways of dealing with the problem is to use double diffusion to control reflections. If you are working from home and have just started, a diffuser can be a large piece of paper or delicate white fabric, if you have a little more budget, we would suggest using a Savage translum diffuser.
Retouching Matters!

Can I Use Direct Light?
What you need to bear in mind about direct light is that it creates hard shadows. However, it is trendy in drinks photography at the moment, and your client may request it. You can achieve direct light using either natural or artificial light. As most photographers know, controlling natural light is very difficult.
To achieve good effects when using natural light, it’s best to shoot outside or next to a sunny window. Blocking sections of light is an excellent way of achieving different effects. A great way of doing so is to use a black foam core.
Composition Tips For Beverage Photography
When photographing beverage bottles, there are two different ways of approaching a subject. You can either focus on the bottle itself or create a story.
Many leading brands will ask you to create a story. A good storyline is significant to some brands. A good example is an association between James Bond and Martini. The “shaken not stirred” storyline never seems to get old.
If a brand has a classic interpretation, such as Martini, it is good to incorporate it somehow. It is not going to be easy, but this is where the client comes in. You need to talk to your client and find out more about the brand.
By all means, discuss the storyline with him and find out what he expects. Living up to your client’s expectations is essential when it comes to any kind of product photography
Don't Forget to Play.
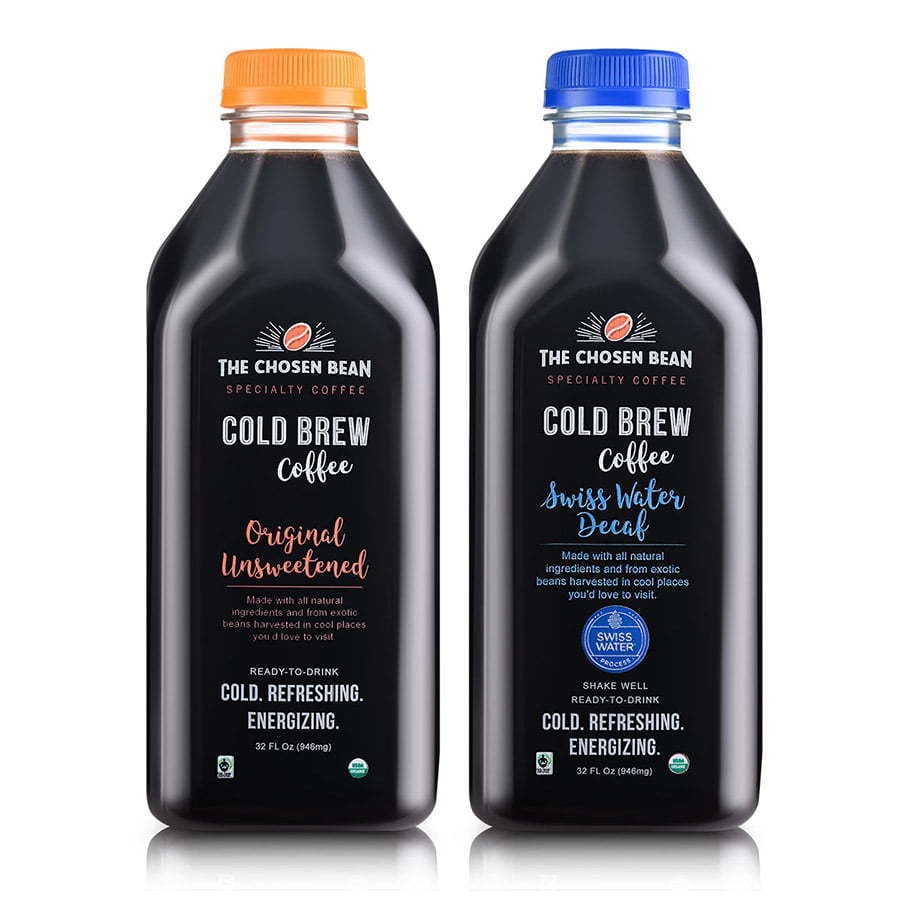
Photography is one of those commercial fields where nothing is set in stone. Don’t forget to play with ideas before you go ahead and decide on the final setup. Many photographers get stuck in a certain way and forget to have fun with their subject.
Having fun, using your imagination matters a great deal when it comes to creating any kind of product photography. That is certainly true when it comes to beverage photography. Drinks and beverages do tend to make us feel a certain way.
Should I Use Complementary Colors?
There is no reason why you should not add a splash of color. Color is an excellent way of highlighting certain aspects of a label.
Colors can make your beverage photography pop. If a bottle’s label has a touch of yellow on it, why not add yellow or go for a contrasting color. Both can help to add extra focus on the label and make the beverage brand stand out.
How do I Add Complementary Colors?
There are many different ways of adding colors. It all depends on what beverage you are photographing. Fruits such as lemons and limes are a great way of adding colors. If you like your gin with a slice of lime, why not go ahead and cut up some pieces of lime.
Would You Like to Create A Frosted Effect?
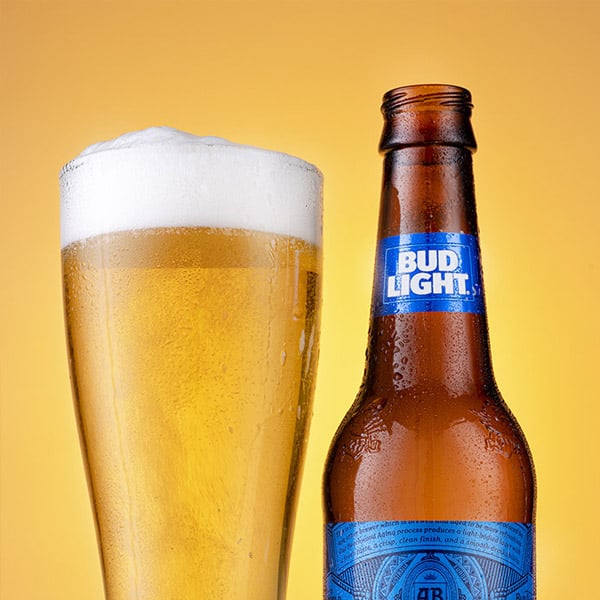
Frosted effects add a lot of interest to beverage photography. You are probably wondering how photographers achieve that slightly cool look. One of the best ways of adding a frosted effect to your drinks bottle is to use a water and glycerine mix.
All you have to do is fill a spray bottle with an equal mix of glycerine and water. Spray the mixture on the bottle, and you will be left with a natural condensation effect that will not drip away under hot studio lights.
How To Compose A Photo?
Not all product photographers have the same approach to composing a photo. In general, the first rule of thumb is to keep it simple. You can easily overdo it. When you go over the top, you risk losing the subject.
So, if the subject is a drink that should be served cool, you need to add something into the frame that says cool. It could be ice, or as previously mentioned, creating a frosted effect on a bottle.
Make sure that you can draw people’s eye on what you would like them to focus on or the story you would like to tell. It could be the label of the bottle or just the general feel of the product.
Clearly, the emphasis when photographing gin or vodka bottles is on the excellent effect.
Where Can I Get Ideas From?
If you have not photographed beverages before, it is not always easy to come up with ideas.
Rule number one is always to discuss everything with your client. Focusing on getting an excellent basic brief so that both of you know where you stand. Most of the time, the beverage product photography is about keeping it simple.
When you want to get ideas on creating the best beverage product photograph, checking out high-end magazines such as Vogue is a good idea. Travel magazines are also often packed with high-quality beverage photographs.
Of course, there is no reason why you should not turn to online sources, including Pinterest and Instagram.

Photographing For Global Brands
Many beverage brands are now global. That can make photographing them especially tricky. You have to make sure that your photographs fit in with many colors. That is where simplicity comes in. No matter what, we often perceive a drink in a certain way.
Adding too many factors and objects into the final product will spoil the composition. One of the trends at the moment is to ensure that bottles or drinks that you photograph look realistic.
It is easy to forget that the job of the photograph is to tempt a customer to buy the product. But, when the customer sees the product in a bar or a supermarket, it goes without saying that it may look less glamorous
Too Much Clutter
Placing items such as high-end glasses in the composition may not do you any favors. They can easily distract from the message that you are trying to send.
For instance, in some countries, people may not drink their whiskey out of crystal glasses. Unless your client has asked you to add specific items into the photograph, it is best not to.
Overdoing it is something that many photographers new to product photography fall foul of when starting out in the business. Simplicity is stunning and can make any product shine.
Remember that you need to focus on the product and follow the brief as closely as possible.
What Else Do I Need To Know?
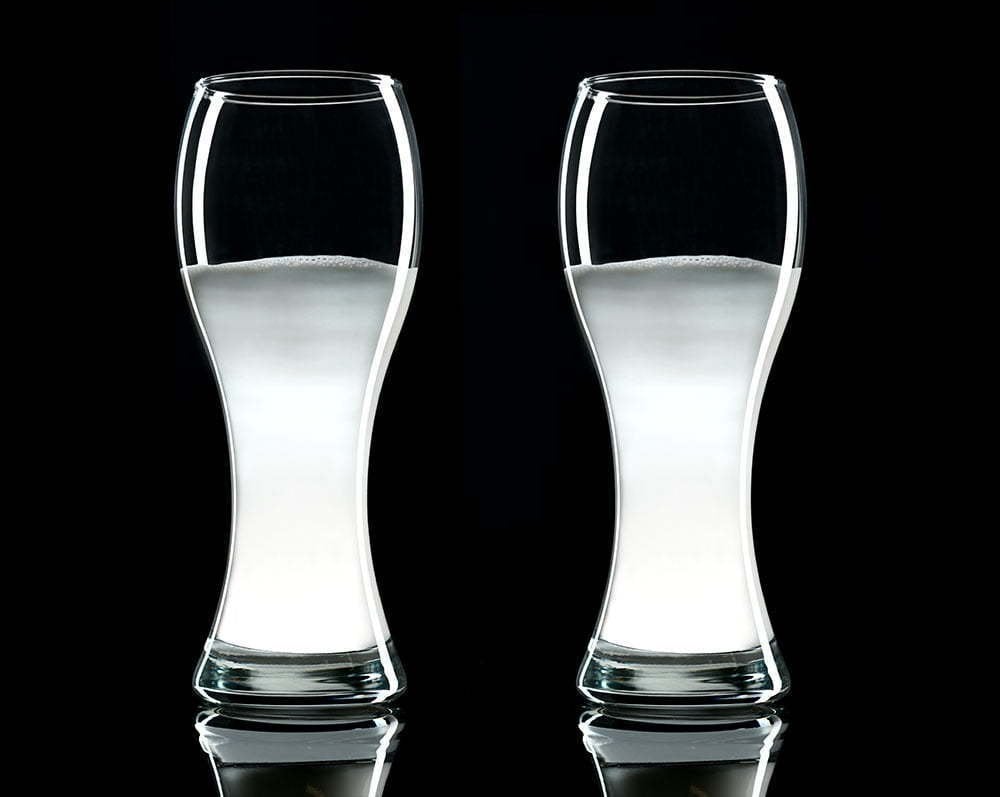
You also need to pay attention to negative space. The end-user wants to see as much of the product as possible. That is why you want to make sure that you don’t have too much negative or excess space in your photo.
Using the right lens matters as well. Macro lenses and smaller lenses are best for when you want to snap good photos of bottles. Find the right lens that works for you and you are comfortable working with during the session.
As always, make sure that you get the right balance between depth and symmetry. This is why it is essential to practice and play around with different ideas. That is the only way you will gain the confidence to work with all subjects within the beautiful world of product photography.
And don’t forget about reflections. They are great when you want to photograph a bottle containing dark liquid but don’t look that great when you photograph clear bottles.
In Conclusion
Yes, beverage photography can at times be frustrating but is very enjoyable at the same time. It is one of those things that grows on you, and you can become somewhat addicted to it.
Get creative and let the magic flow. Who knows, you may just come up with that ultimate photograph that changes the way we view a beverage brand forever.
if you’re looking to increase your online conversion but still feel you are not sure where to start – check out these resources below:


